close

Skin Care

Skin Care

How to Make DIY Acne Masks To Treat Skin Problems

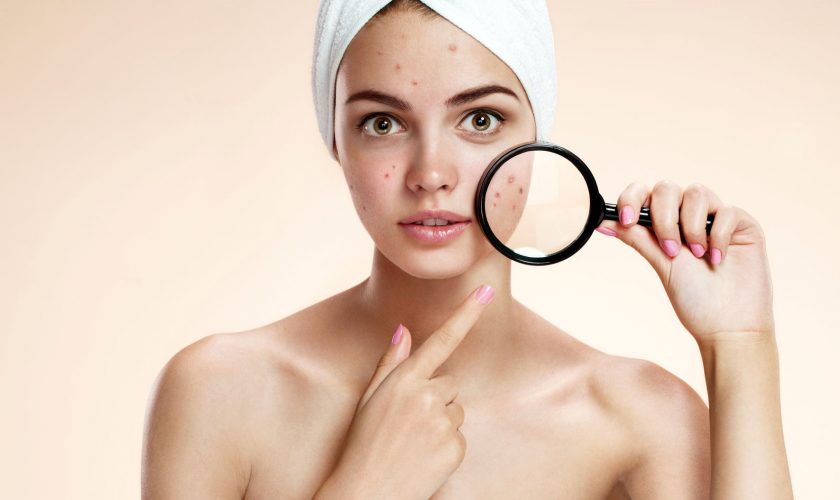
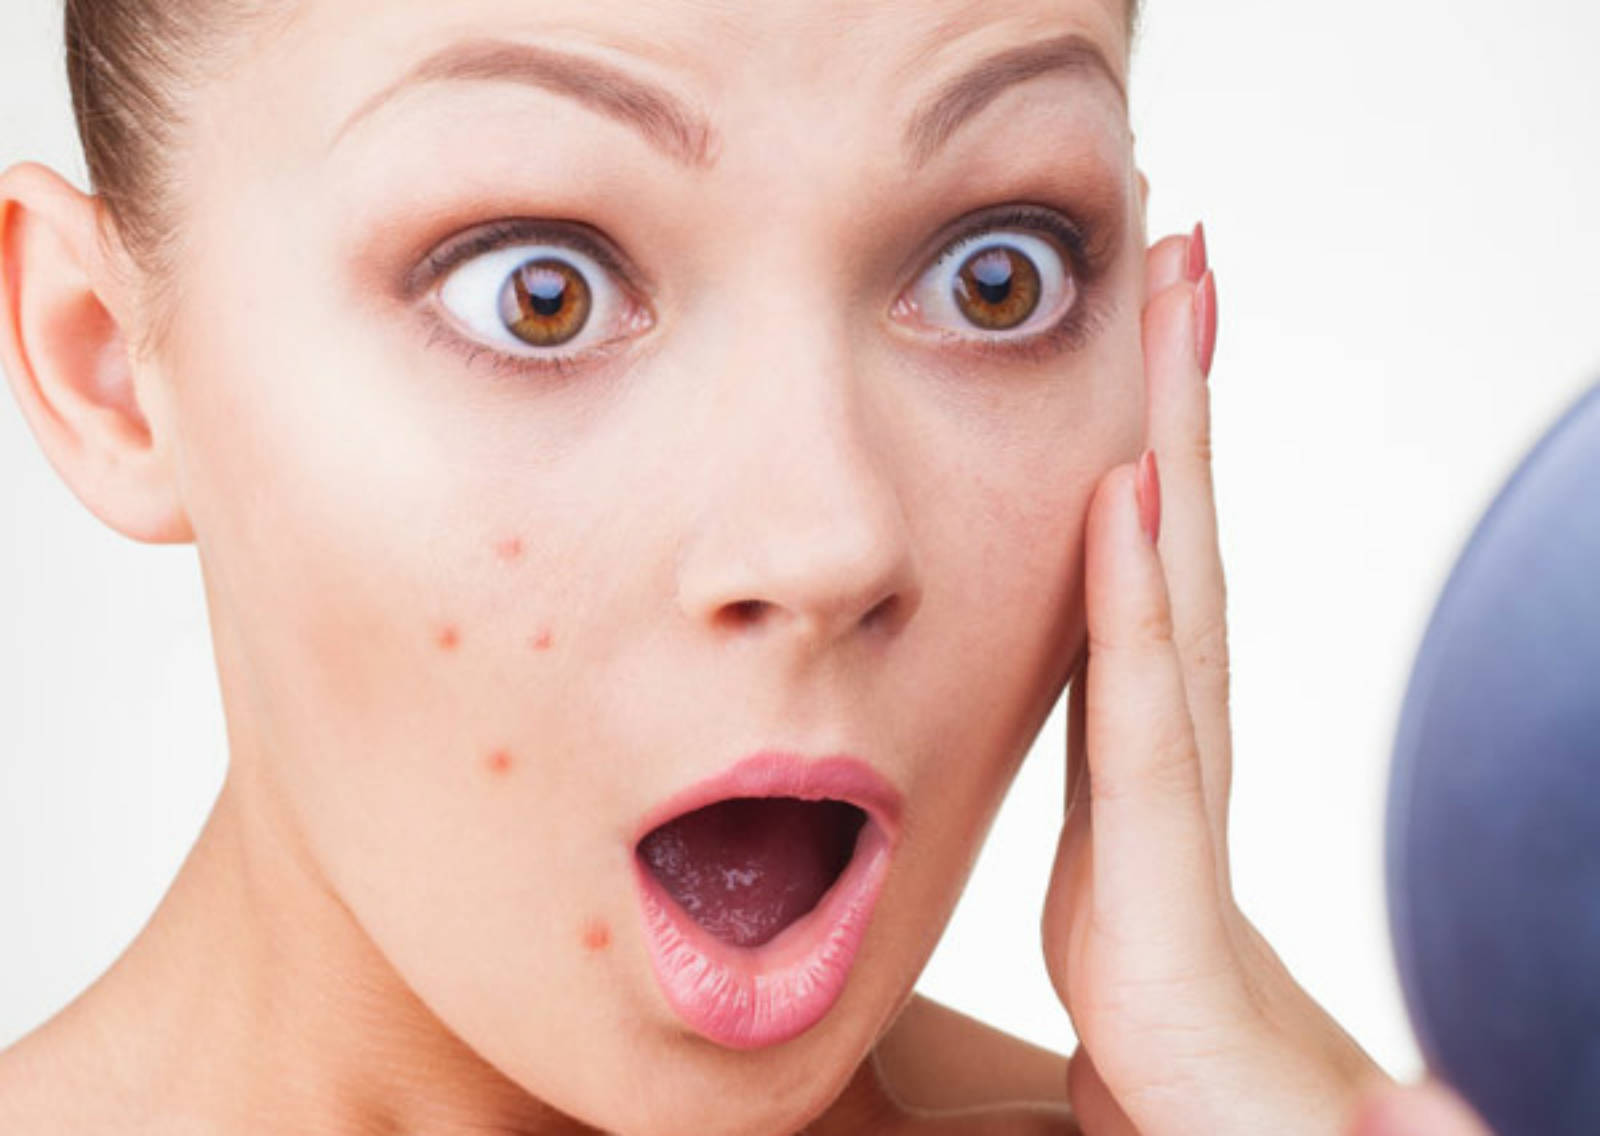
Acne is an issue a lot of us face on a daily basis. It can affect us a lot more than we think as it can cause discomfort as well as other physiological problems. The problem, although associated with one’s teenage years, may persist well into adulthood. There are reportedly millions of cases of acne each year, each case with its own set of problems accompanying the acne. For a lot of people, there seems to be no way out of the nightmare, however, the way out is actually quite easy. Here we are sharing How to Make DIY Acne Masks.

In order to get rid of acne, one must first understand what acne is. Acne is caused by bacteria living under the skin. What often happens is that our oil pores get shut down due to hair follicles blocking them or due to dead skin cells or white or blackheads blocking the entrance to the pores. This causes all of the extra oil to be stuck inside the pores for longer amounts of time, and with no outlet to let the oils to the skin, the skin on the outside dries up without sufficient moisture causing wrinkles, acne scars and other such skin problems. Inside the pores, the bacteria start breeding, giving rise to acne. If not cleaned properly, the bacteria can be spread all over ones face very easily, giving rise to acne outbursts.

Homemade DIY Acne Masks To Treat Skin Problems

Before sharing the DIY acne masks. First, discuss what causes the acne. Sometimes hormones are to be blamed for it too, as an excess of hormones may cause inflammation in the skin. This can be due to high levels of stress; however, this might also be genetic in some people, or due to prolonged exposure to the sun. Whatever the case may be, in the end, it is the skin that suffers the wrath of our negligence.

There are a number of solutions to this problem, the easiest of them being a regular shower to clean out all your pores and to get rid of the layer of dust and dead cells accumulated on the skin. However, if the condition of your skin seems to be worse, it is important to see a dermatologist as professional help is always good. You can also check does proactive really work.


Most of us grew up around old wives’ tales of magical home remedies for any and all ailments, ranging from using garlic scrubs to eating more sugars, however, most of these are simply myths. There are ways to get rid of acne that doesn’t necessarily require you going to a cosmetic store and spending money on facial scrubs.
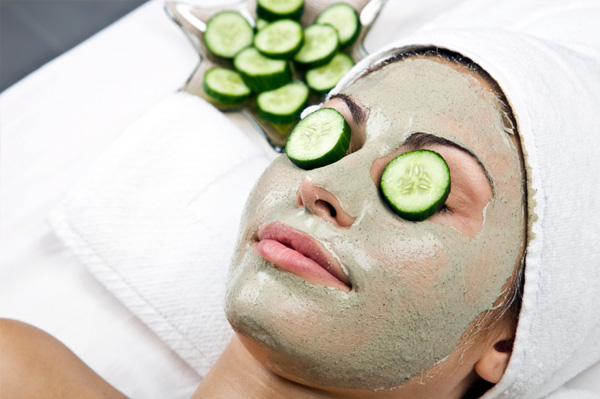
Cucumber as a mask

Following are a few routines you could follow at home to achieve the same results as any good scrub:
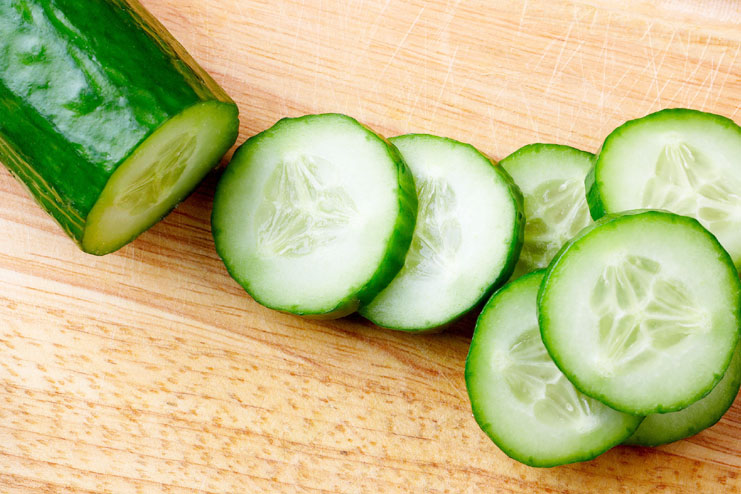
One of the best ways to curb breakouts is to use cucumber.

  • Grating an unpeeled cucumber and mixing it with half a tablespoon of baking soda will give you a very efficient home-made alternative to facial scrubs. Apply it to your skin and let it rest for 20 minutes.
  • After the skin has absorbed it, just rinse it off with warm water. If applied regularly, this solution can help curb outbursts of acne to a great extent. This also helps balance the pH levels of the skin, which is an important contributor to acne problems. The cucumber in the solution is essential for providing vitamins to your skin, whereas the baking soda helps in exfoliating the skin and getting rid of dead skin cells on the surface. There are a lot of similar remedies found on the internet, such as:
  • If you have oily skin, there is another remedy that might help with that. Grating an unpeeled cucumber and juicing it will give you some cucumber juice that is very rich in essential minerals but is not very absorbable.
  • Mixing it with protein-rich egg whites can give you very good scrub. Apply this to your face and let it rest for 20-30 minutes before rinsing it off with warm water. This will help purify oily skin, which would reduce the acne and help curb outbursts. Regular use can bring about a drastic reduction in acne outbursts.

Conclusion:

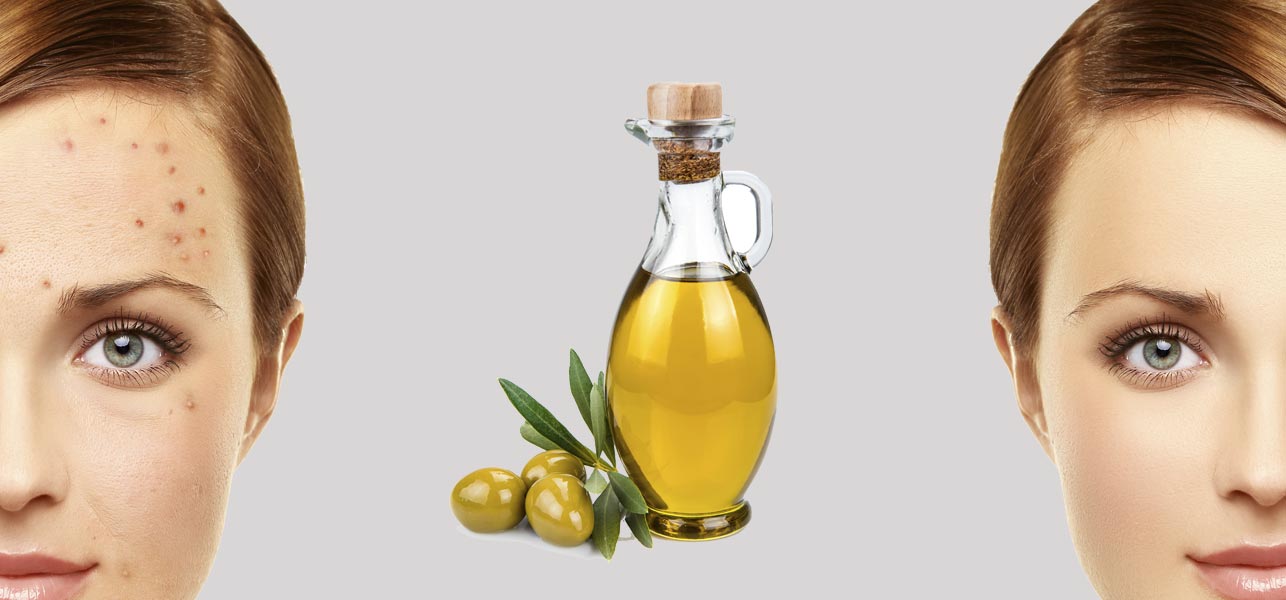
So far, we’ve only worked on the skin itself, but as you might remember, acne is caused by bacteria, and in order to fight off those bacteria, one needs some form of treatment. Inability to find such treatment would mean you must resort to home remedies. Luckily, garlic and olive oil make a very good combination to fight bacteria. Take 3 cloves of garlic, mince them and mix them with olive oil. After that, use a cloth to apply the mixture (not directly) to the problem area and leave it for a while. Once it is washed off with cold water, it will take most of the bacteria with it. Prolonged or repetitive use would result in a reduction in outbursts.

Hope these DIY Acne Masks have helped you. Keep visiting us for more skin care remedies.

See More As:

read more
Beauty Tips and Health FitnessSkin Care

Latest Asian Party Makeup Tutorial Step By Step Looks & Tips

Latest Asian Party Makeup Tutorial Step By Step Looks & Tips 2017-2018

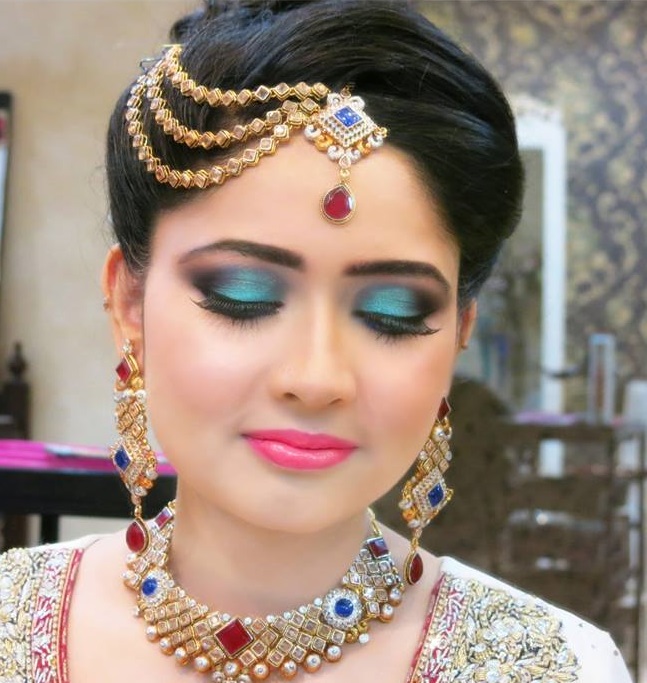
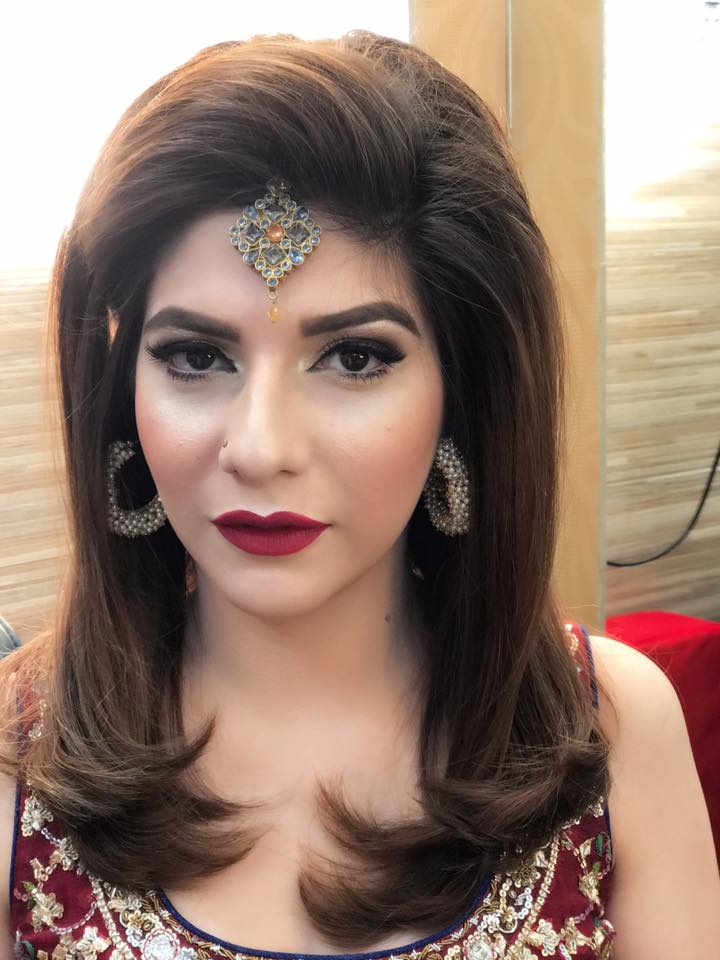
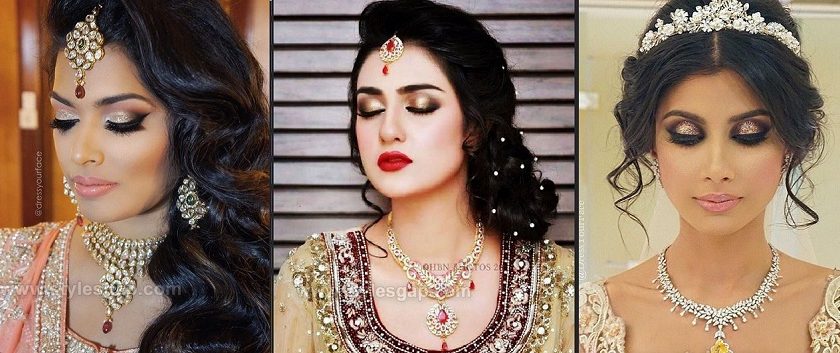
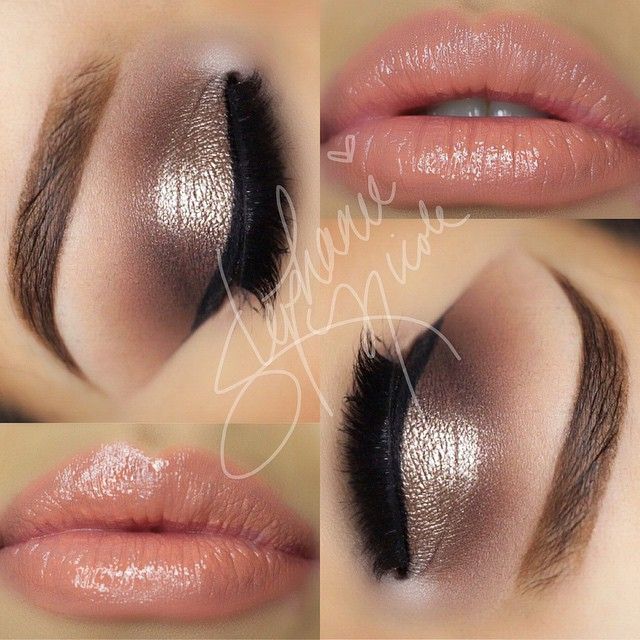
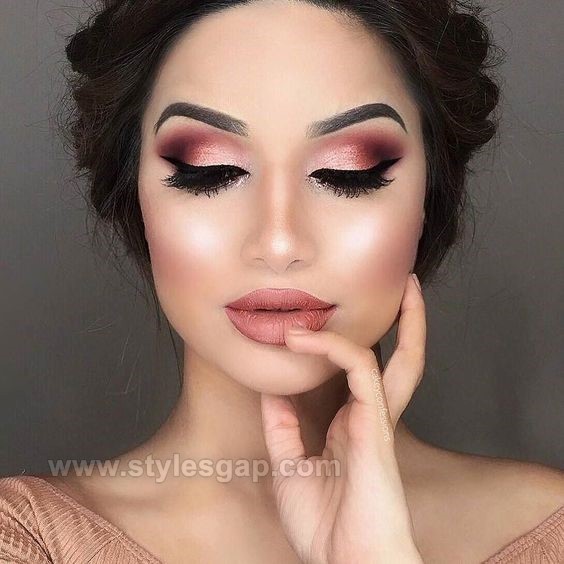
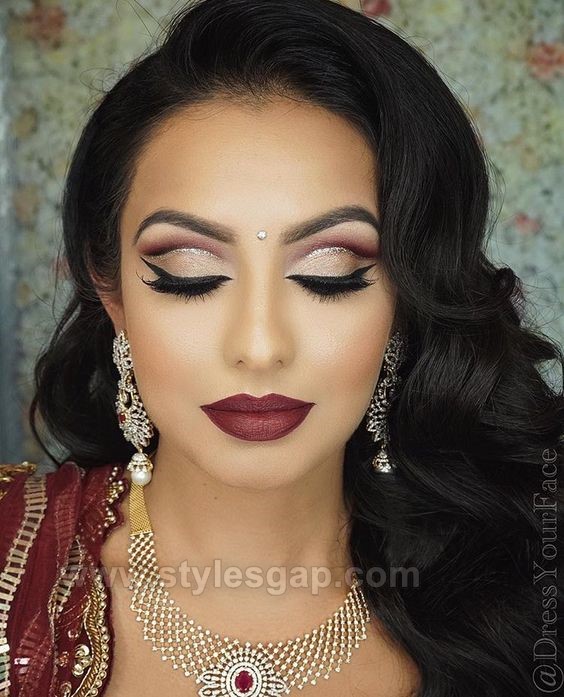
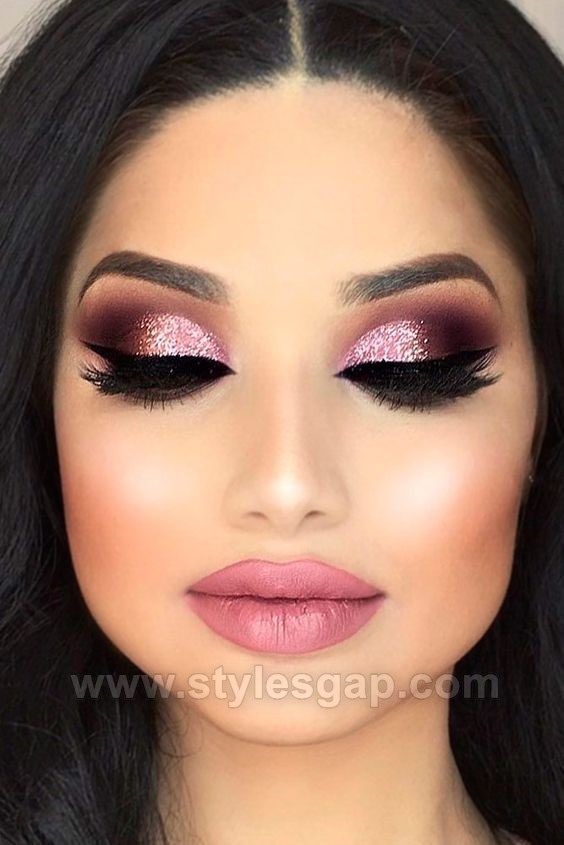
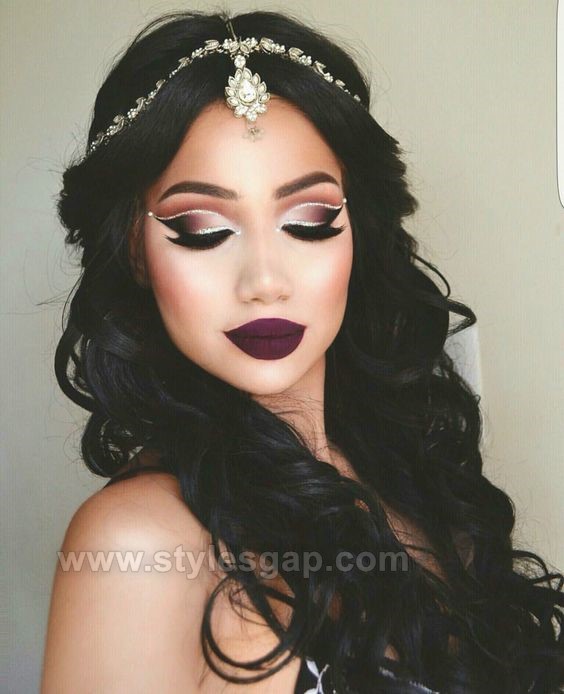
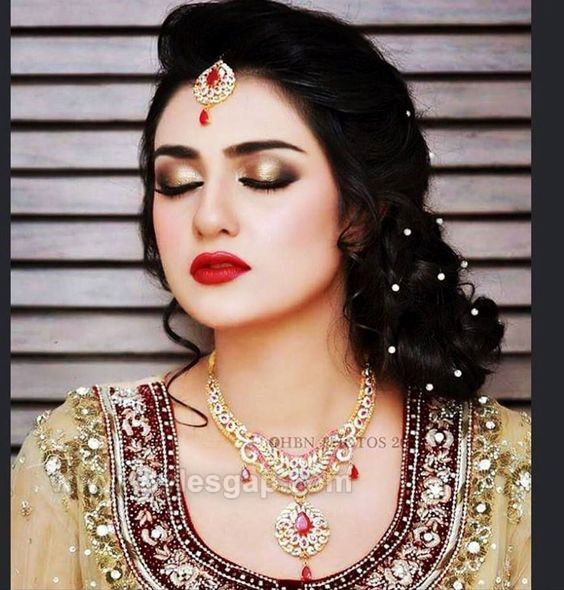
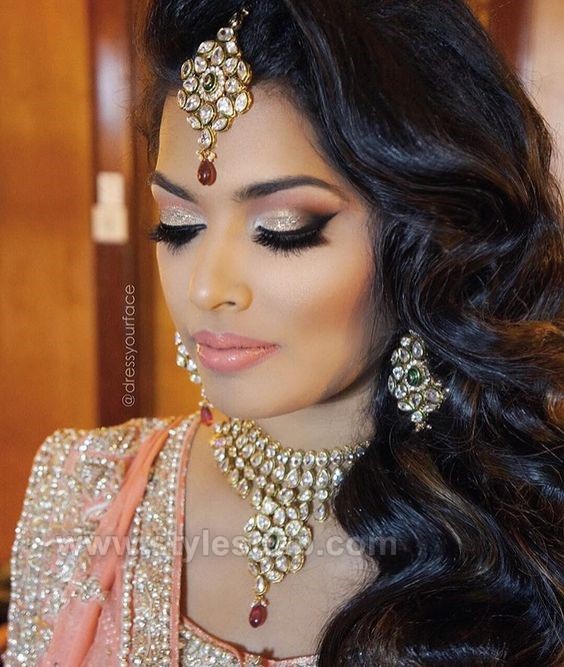
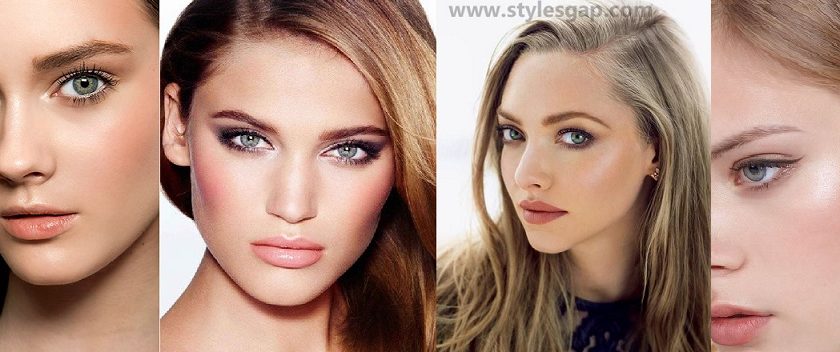
Going out for shopping, attending school, college, university, Going out with friends, Or on a Family holiday or getting ready for a party; Every woman has the same particular tension, what makeup will look good ? Which will not smudge and make my look stay me fresh till the last minute of the party? And many more questions that are nodes of Makeup. Well makeup is something that varies with skin type, complexion, and, of course, the occasion.If we see the western people, they are blondes and fair. When we talk about their makeup we use tanning creams and foundations, different shades of lipstick and different eye makeups as well.And when we talk about our Asian girls we find a huge variation in the complexions and skin types. We have Oily skin, Dry skin, Smooth and rough skin and both dark and light complexions.So here in this post we are going to discuss the Asian makeup as they have to be very protective about our makeup. Lets discuss the Latest Asian Party Makeup Tutorial Step By Step Looks & Tips.



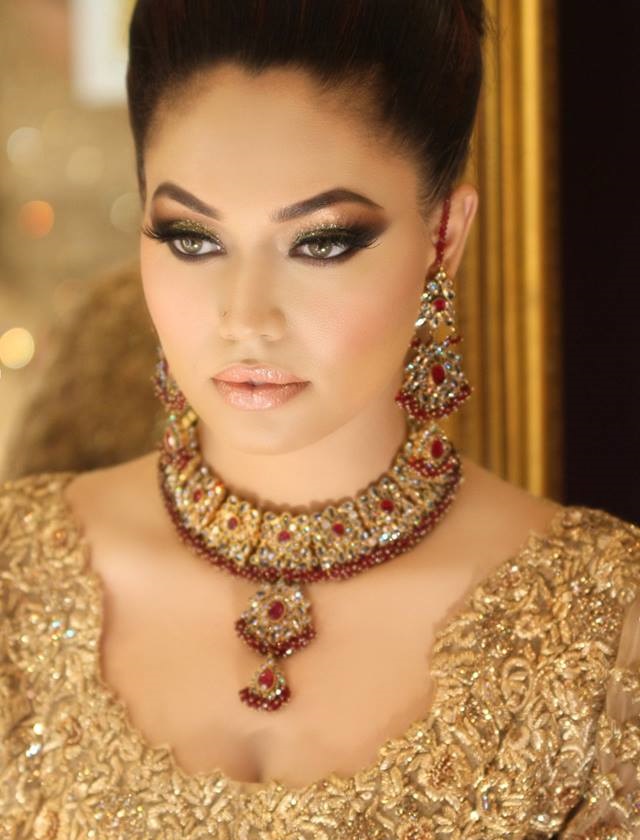

For a semi-formal event casual, Light Foundation just One tone lighter than your skin, with light lipstick and no eye make-up, with the thin liner would go fine. And then Let’s move towards the topic that is the bold party makeover for Asian women.

Latest Asian Party Makeup Tutorial Step By Step Looks & Tips


  • In the makeover for this chilly season when skin gets dried and needs something moistened to make it stay at place; use liquid foundations or lotion base, use a primer and apply shimmery face powder to give a glossy fresh look to the skin, If it’s a night event, and if it’s morning use a dull cake to smoother the complexion.
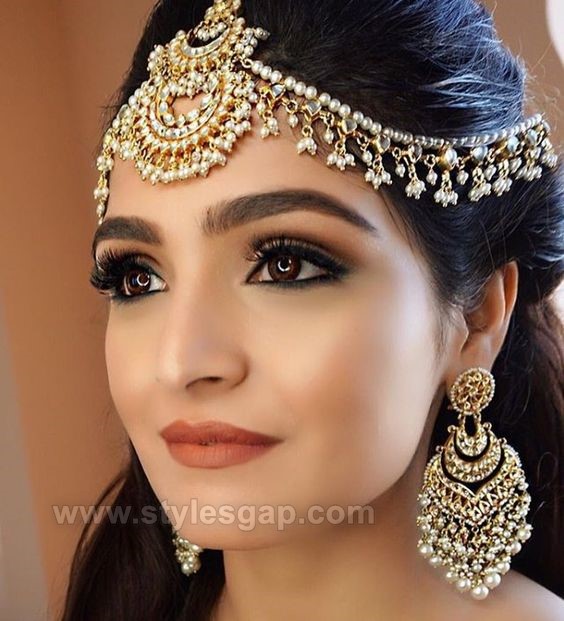
  • Apply any lip color according to your dress or desire. Orange, peach, and nude lipstick tones are a part of hottest trends of 2017-2018.
  • Use matte to make sure it stays for long.Use eye makeup matching to your outfit but don’t make too  much contrast as its totally off fashion now.
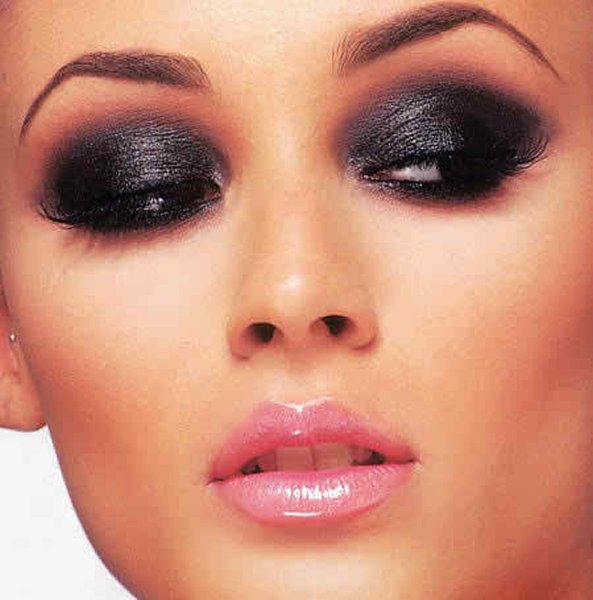
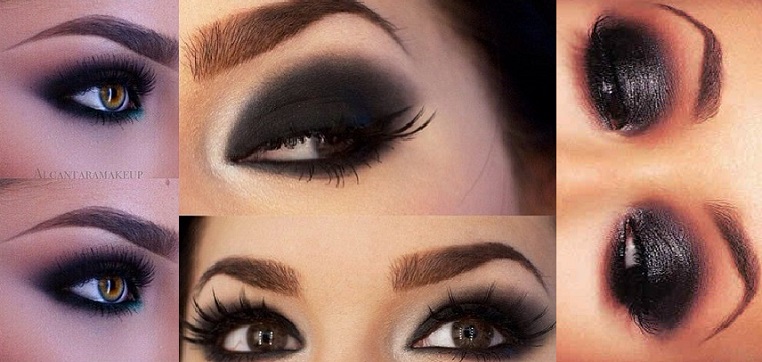
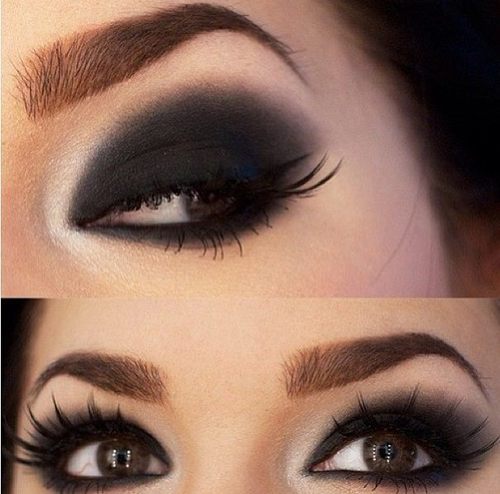
  • Smokey eye makeover is something that goes right with every dress and every season especially with lighter colored outfits. And if It’s summer make it very sure not to use any of liquid product in tour makeup, it will smudge and  mess up your look all the way that you will end up the day looking like a Guyana. And also the whole time you will stay so uncomfortable adjusting your makeup all time.
  • There is one very important thing in our region; don’t go with a too fair foundation, just select a one tonne lighter, foundations aren’t made to make you look fair, they are to make your skin smooth and even.
  • And you must mind your eyes if you have small eyes use darker makeup and for large eyes, stay light or else it won’t look good.
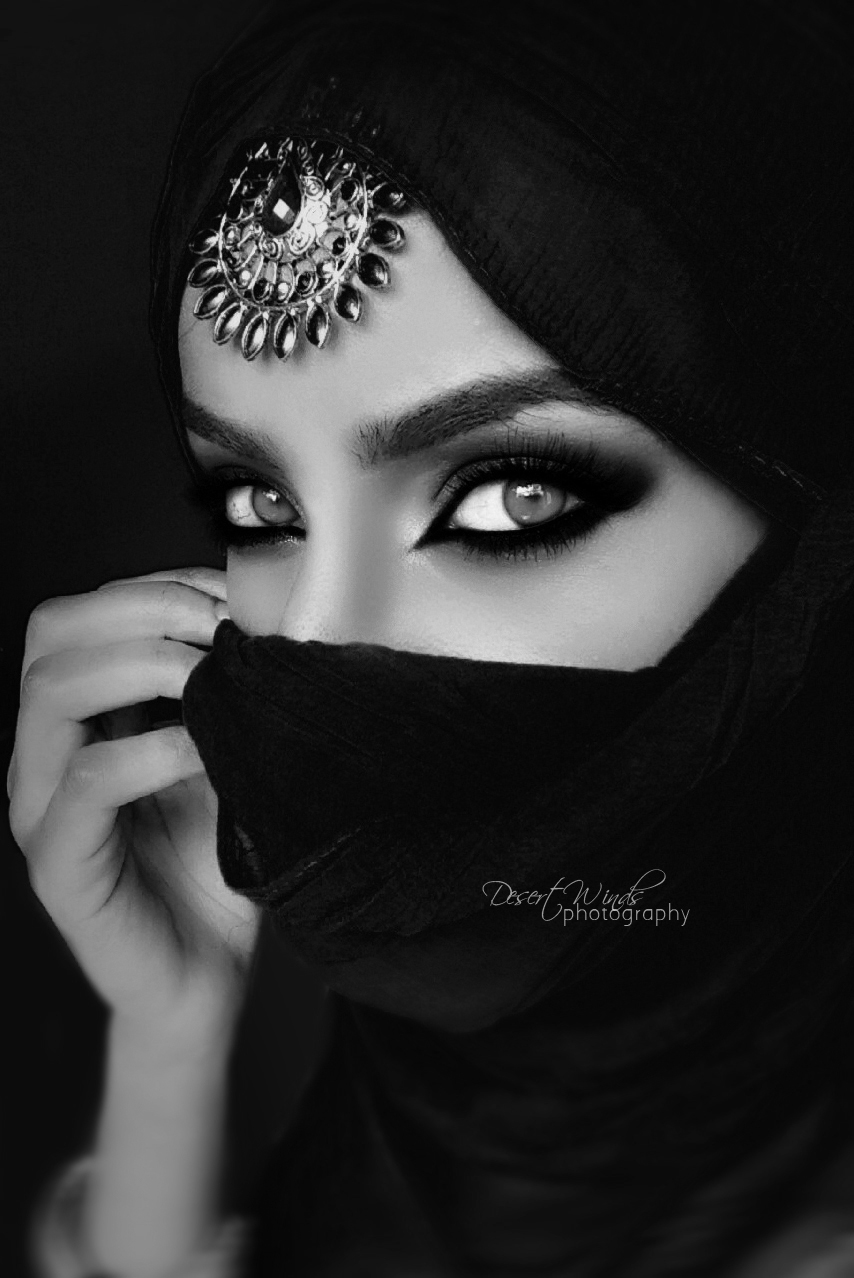
Latest Asian Party Makeup Tutorial Step By Step Looks & Tips
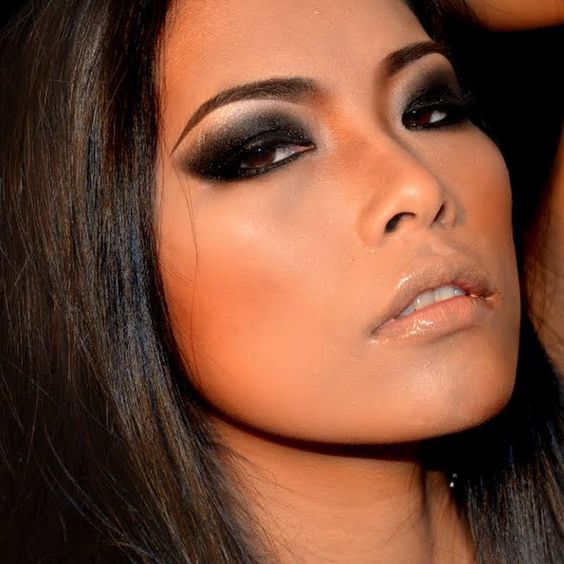
See More As:

10 Most easy & simple steps of best bridal makeover for asian weddings

Beautiful Smoky Eye Makeover Step by step tutorial for bold look

Beautiful Charming Bold makeover for parties & weddings

read more
Skin Care

Most Popular Best Unwanted Hair Removal Methods to Follow

Most Popular Best Unwanted Hair Removal Methods to Practice

When you are struggling with unwanted body hairs, it can sometimes be all you can do to keep your patience. It might seem like the hair grows back too fast no matter what you do, but you might just need to try a different hair removal procedure then you’re familiar. Here are some procedures and treatments to work. Here we are sharing the Most Popular Best Unwanted Hair Removal Methods to Follow.

Most Popular Best Unwanted Hair Removal Methods to Follow 1

Most Popular Best Unwanted Hair Removal Methods to Follow

We are discussing here the top producers to remove the unwanted hairs permanently or temporary. Follow these Most Popular Best Unwanted Hair Removal Methods which suits you the best.

You Can Shave Your Unwanted Hair

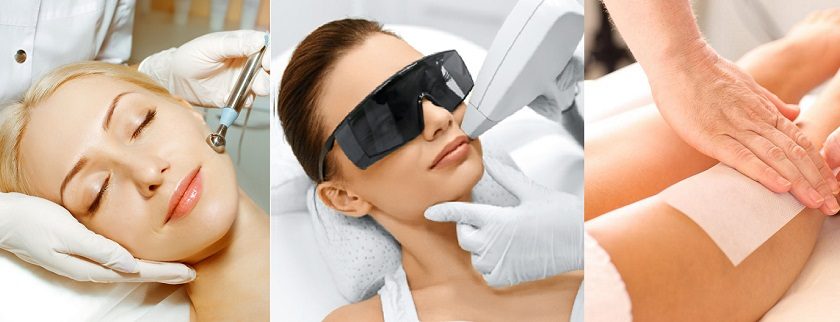
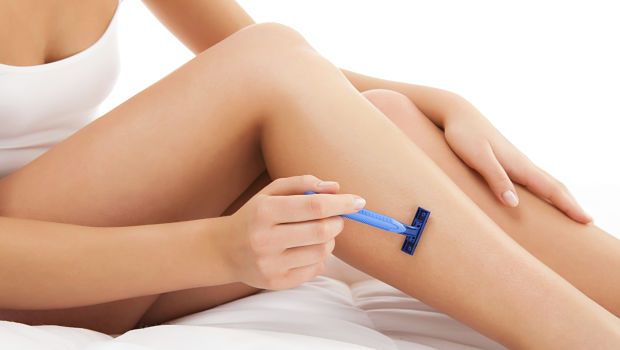
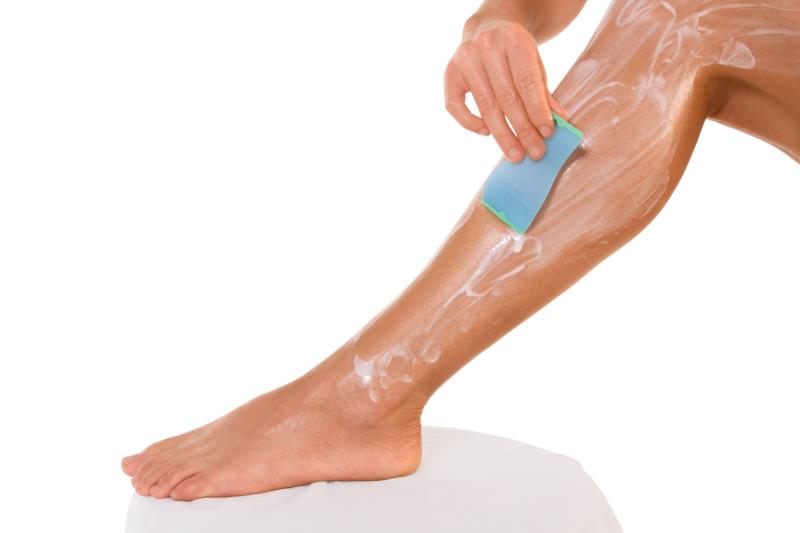
You can shave your unwanted hair away, as you know. But you have to use the proper procedure if you want to keep it from growing back for a  while. By shaving against the direction in which the hairs are growing and using a shaving gel you can avoid ingrown hairs and get a closer shave, which will delay regrowth. Nevertheless, even a perfect shave usually won’t keep hair away for more than a week, and many people find their hairs are invisible again within only a few days.

Shaving- Most Popular Best Unwanted Hair Removal Methods to Follow

Waxing and Sugaring Can Also Get Rid of Hair

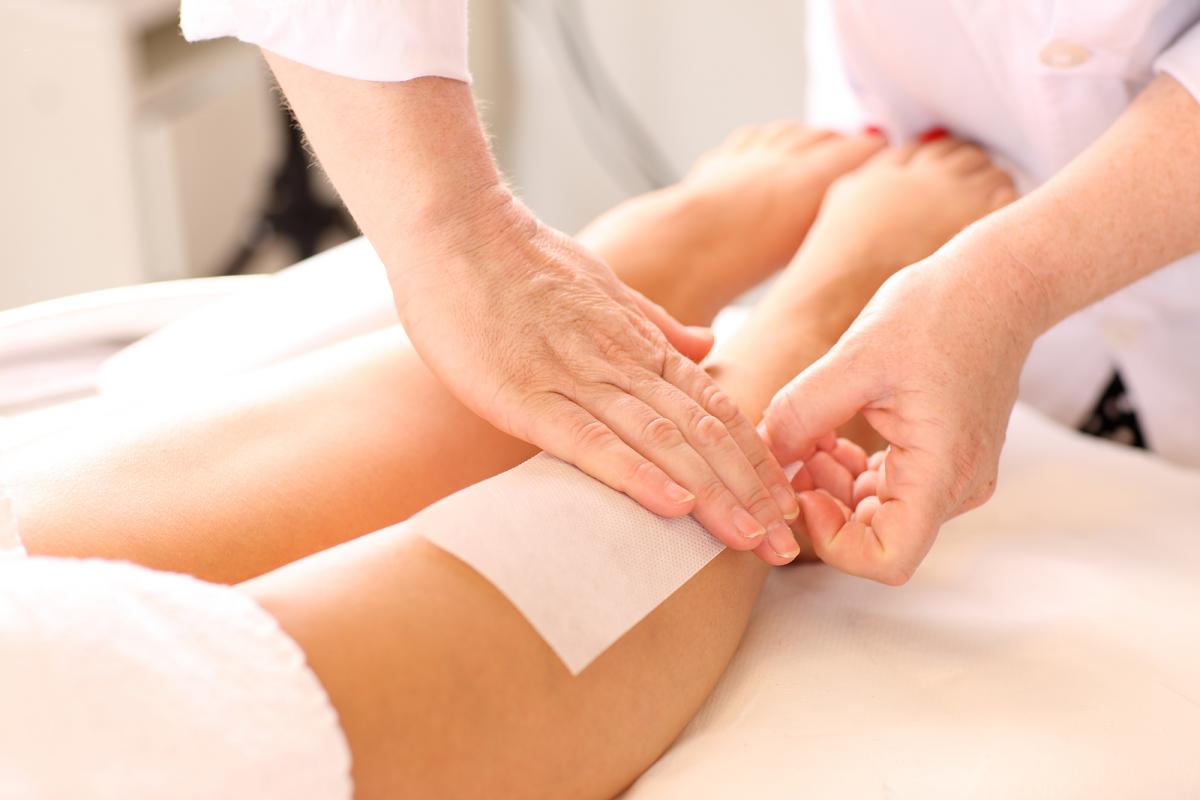
If you desire to keep the hair away for a longer period then another option you have open to you is waxing or sugaring. Both methods work better than shaving because shaving only removes surface hairs. Wax or sugar attaches to each hair and rips it out completely in most cases. Since the hairs have to grow back from the follicle instead of just below the surface, the time it takes can be extended from the few days you would get from shaving all the way to a few weeks. In some cases, it might disappear for six or more weeks between treatments.

waxing- Most Popular Best Unwanted Hair Removal Methods to Follow

Try Clinical Treatments to Say Good-Bye to Unwanted Hair

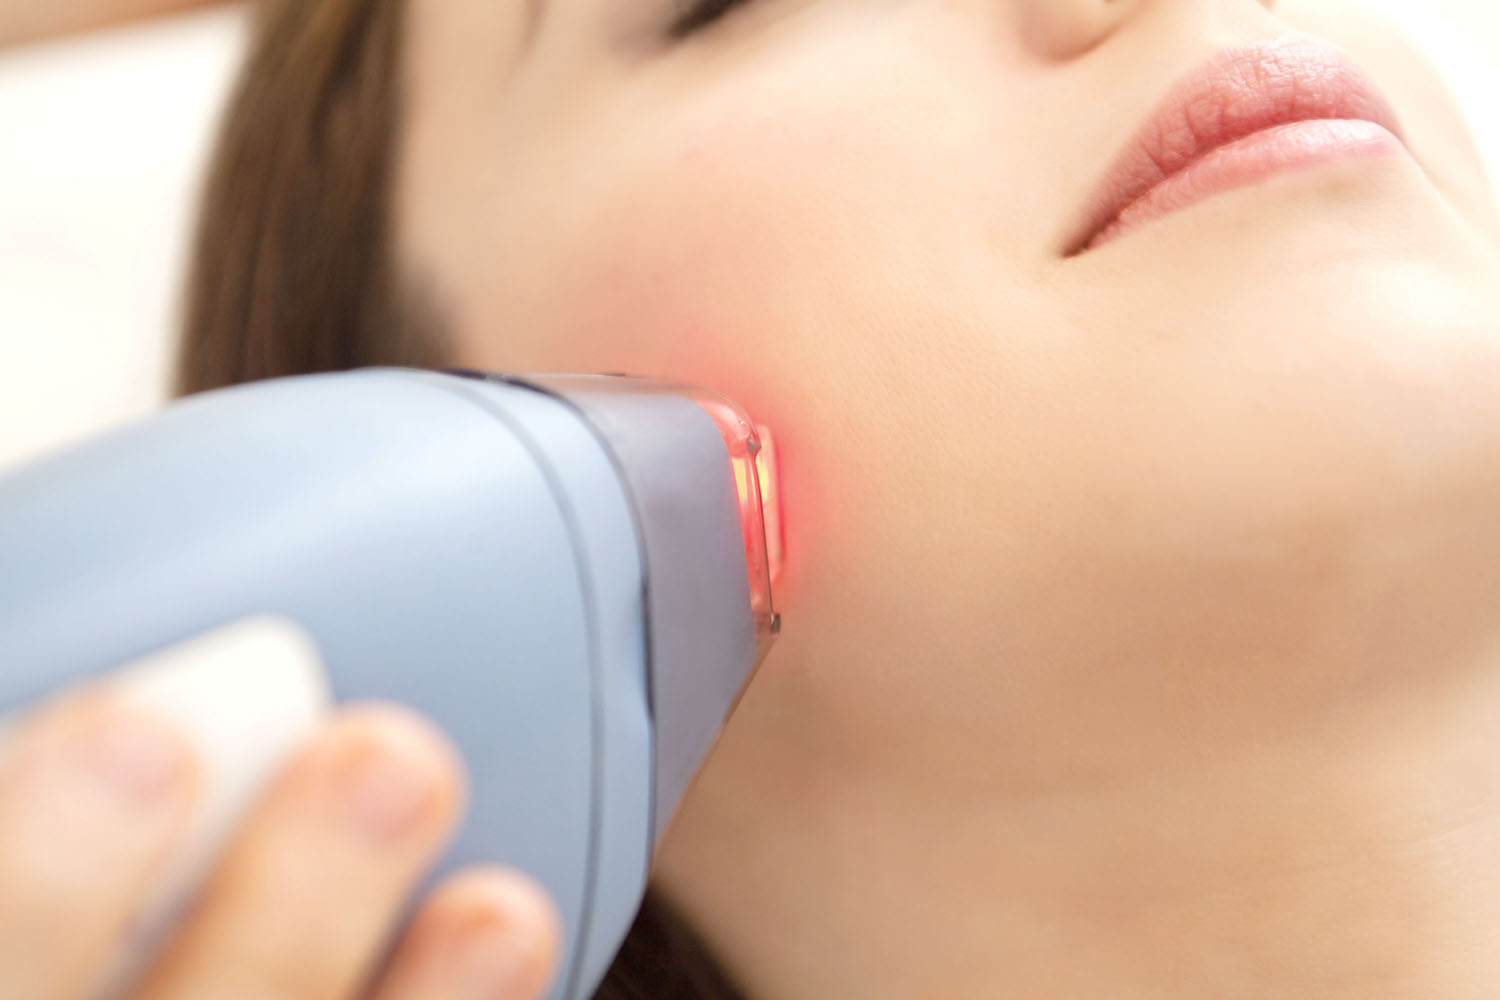
There are also many clinical treatments you can try to say goodbye to unwanted hairs. Among the most popular hair loss equipment found in clinics are laser machines. Each hair can be traced by the laser, and the beam can penetrate through every skin layer. While techniques like razors are limited because they can’t go below the top layer of skin, lasers have no such limitations.

laser- Most Popular Best Unwanted Hair Removal Methods to Follow

Another unwanted hair removal technique done in clinics often that has no such limitations is electrolysis. It uses electrical currents to destroy the entire hairs, even the part not visible to the naked eye. As the name suggests, electrolysis uses an electrical current on the hairs. It isn’t harmful to the rest of your body at all, but the treatment is not among the most comfortable hair loss techniques, which is part of why it is rarely used on larger sections of skin. It is only meant for stubborn individual hairs or small areas.

electrolysis- Most Popular Best Unwanted Hair Removal Methods to Follow

Maintaining Hair Removal with Depilatory Creams

Another way to get rid of unwanted hairs is by regularly applying something called a depilatory cream to your skin. Depilatory creams have special ingredients designed to make treated hairs fall out eventually. As an initial hair removal option depilatory creams are very slow to work. So, you should dodge them if you want to say goodbye to body hairs instantly. However, they can be quite useful as a maintenance method after another form of hair loss treatment, such as shaving or waxing. By applying the cream regularly, it can slow down hairs regrowth even further, or sometimes prevent it entirely.

hair removal creams- Most Popular Best Unwanted Hair Removal Methods to Follow

You can use one or many of the hair removal methods on this list. They do not interfere with each other. In fact, some of them, such as depilatory creams, can be used to enhance the results of the other procedures. It is up to you to test and find the hair loss method or the combination of methods you prefer.

Most Popular Best Unwanted Hair Removal Methods to Follow

See More As:

read more
Beauty Tips and Health FitnessSkin Care

Bold & Beautiful Black Smokey Eyes Makeup Tutorial Step by Step
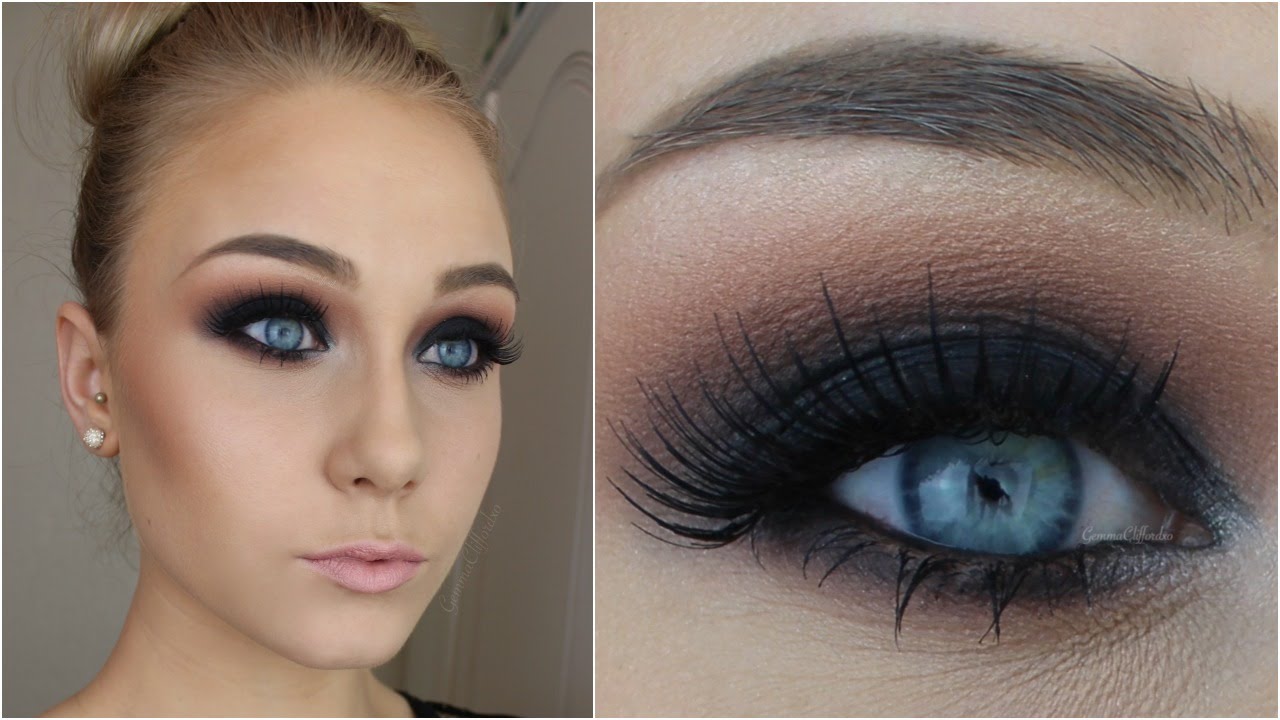
Black Smokey Eyes Makeup Tutorial Step by Step
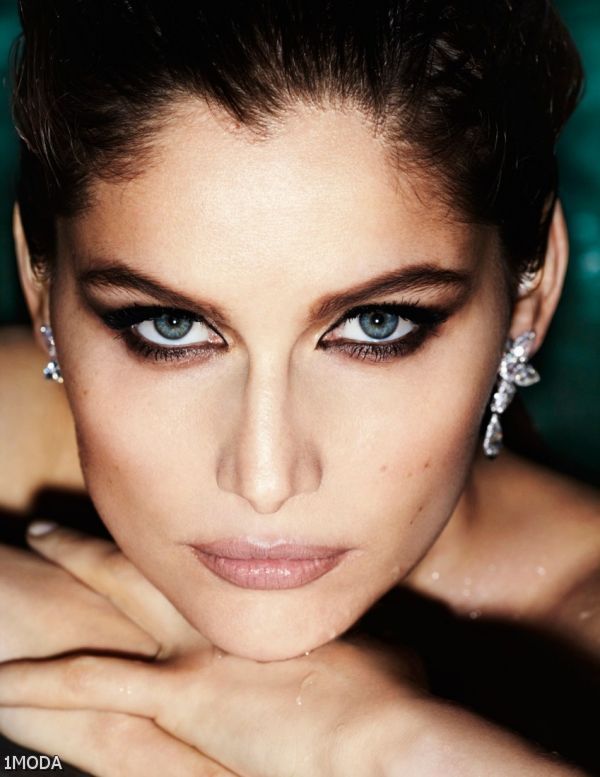
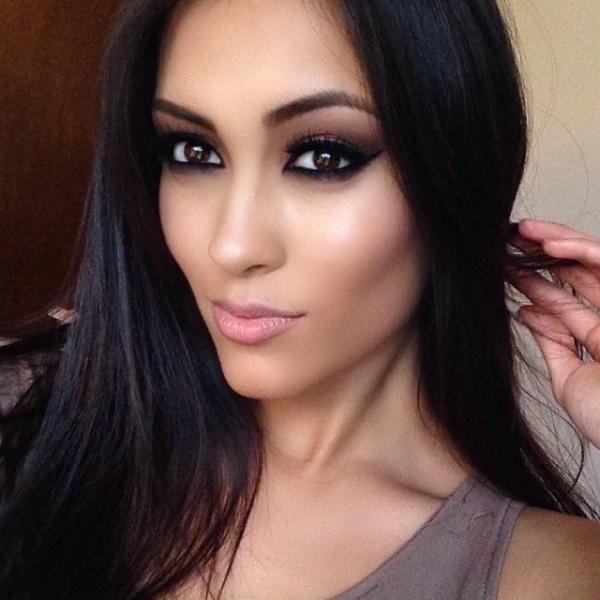
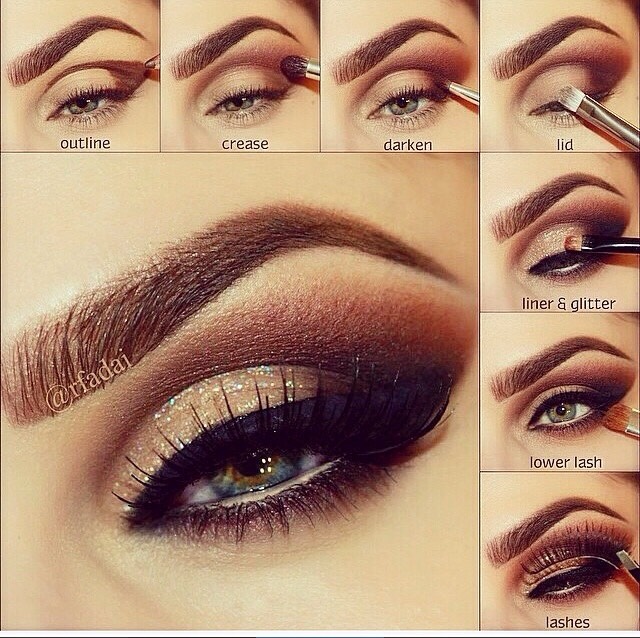
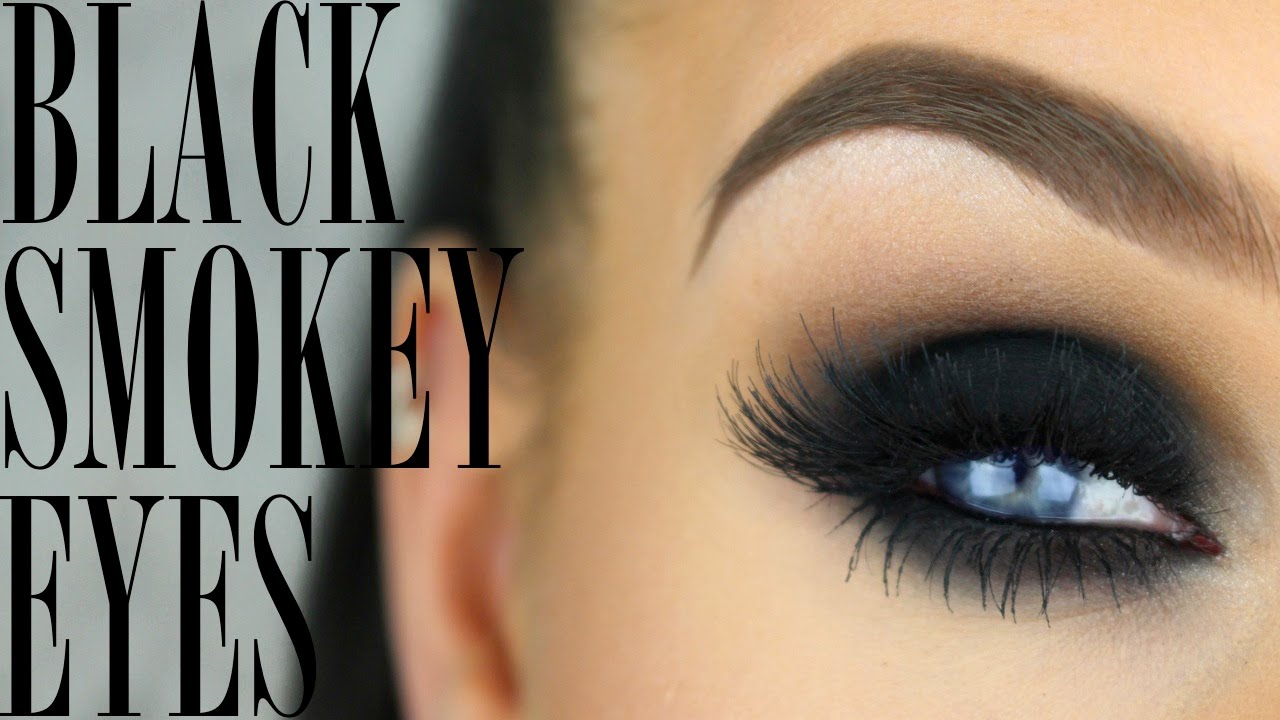
The saying “As deep as black” is quite true when it comes eye-makeup that women carry on formal and casual evening occasions. Adding the glints of Smokey black to your eyes, enhances the beauty and depth of your eyes. Eyes are the index of your face, so you can’t spare them from good outlook and matching hues of shades. Makeup artists from around the world do a great research to bring out the best of the eye-makeup that could be carried out with any dress and any color. Black Smokey eye makeup is so amazingly popular and prevalent in all the fashion circles these days because it not only gives depth and boldness to your eyes but also it can be put on easily at any time you want. So ladies! If you have this craze for the bold and glitzy makeover, then stay tuned as we present you a complete tutorial about how to give yourself a bold, glamorous black Smokey eye makeup as good as professionals. Let’s discuss the Bold & Beautiful Black Smokey Eyes Makeup Tutorial Step by Step.

Black Smokey Eyes Makeup Tutorial Step by Step (15)

Bold & Beautiful Black Smokey Eyes Makeup Tutorial Step by Step

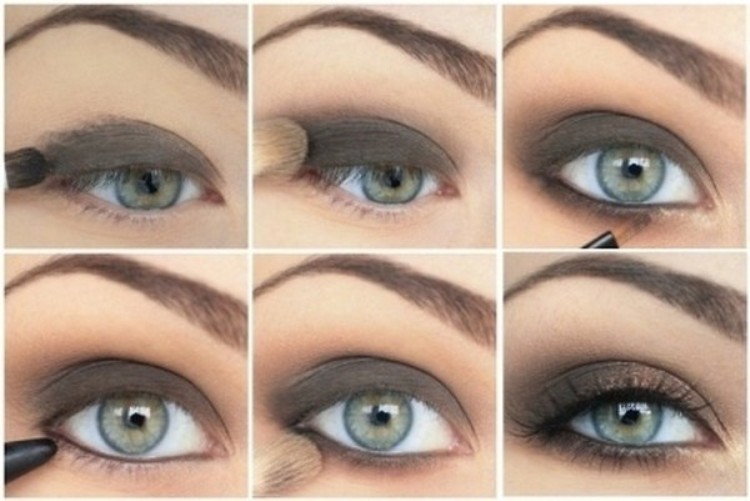
There are nine steps leading to a wild funky makeover in a couple of minutes. The things that you need to have the eye makeup are an eye concealer and primer, black liner or black pencil, smudge brush, mascara, lash curler and dark black eye shadows.

Black Smokey Eyes Makeup Tutorial Step by Step (6)

1. Initiate with the Concealer and Primer:

Before putting on anything on your eyes make sure that you have cleaned your lids and the area around your eyes. Now initiate with a concealer over the lids, this will give the area around your eyes a lighter tone and a neat look. Moreover, the concealer and a little use of primer over the lids will act as a base, letting your makeup and eye shadows to stay for the longer period.

Black Smokey Eyes Makeup Tutorial Step by Step (8)

2. Fill up the Lid:

Fill the upper lids of your eyes with the white base or primer and spread it evenly in all the directions. Smooth it out by a gentle rub of the smudging brush and tap it a bit to make the base stay on the lid.

Black Smokey Eyes Makeup Tutorial Step by Step (4)

3. Putting Black Liner:

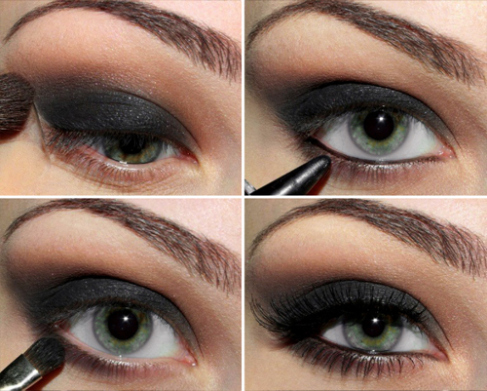
Now your eyes are almost ready to get all beautiful. At this stage, you need to put on a dark coat of dark black eye shadow, or you can even use a liner pencil above the lash line of your eyes. Keep in mind that you only need to fill in the portion of the lash line and the lid line. Try to keep it dark around the corners. You can also use various dark shades of black overlapping each other this will create a fascinating appeal.

Black Smokey Eyes Makeup Tutorial Step by Step (1)

4. Smudging the Smokey Black:

It’s time to blend the layers of shades or liner that you have applied on, in a smooth manner. Keep the movement of your brush from outward to inward and around the lid line to give more depth than usual. Let it settle on your lid. Avoid over smudging and do not play with the natural shape of your eyes. Try to go with natural curves of eyes.

Black Smokey Eyes Makeup Tutorial Step by Step (18)

5. Highlighting the Browbone:

This step is most vital one in the application of almost all the eye makeups, so you need to learn it with extra care. Highlighting your brow bone gives a prominence to your eyes, makes them more visible. You only need to use some lighter tone of shades like in soft gold with shimmer or a highlighter to apply to your brow bone. And then smudge in too but keep it above the lid line.

Black Smokey Eyes Makeup Tutorial Step by Step (1)

6. Darken the corners:

To add the sharpness and boldness of your eye-makeup now darken up the area around the corners, you can even add more of the shades over the previous layer of shades. Try to use metallic shades this time that will give your eyes shine and glare.

Black Smokey Eyes Makeup Tutorial Step by Step (7)

7. Shadow under the Eyes:

One added advantage in Smokey eye makeup is that it goes all around your eyes to make them more prominent. So you also need to apply black shade or liner over the lower lid of the eye but try to keep it around the corners. Then smudge it out too. This time, smudge from inward to outward going around the corners.

Black Smokey Eyes Makeup Tutorial Step by Step (20)

8. Blacken the lower line:

Now take a black liner pencil and then blacken out your lower lash line. Fill it up with the gentle movement of black pencil over the inner of the lower lash line. It will look blending with your blacken lower lid.

Black Smokey Eyes Makeup Tutorial Step by Step (9)

9. Finishing with Mascara:

Accentuate your eyes by applying the thick layer of mascara over your upper and bottom lashes. But before that try a little curling of your lashes by using a lash curler. Now put on some mascara and let it dry. It will give the final finishing touches to your eye-makeup.

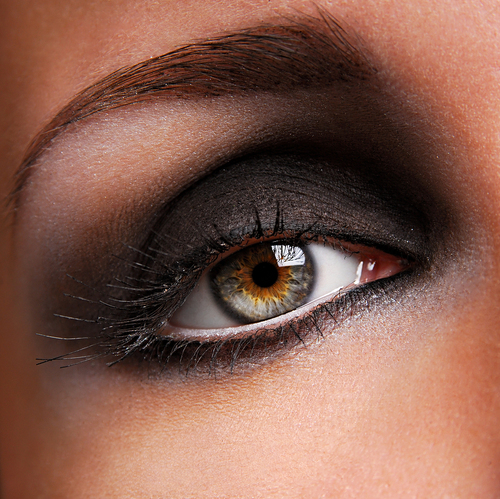
Voila! Here comes the perfect Black Smokey eye makeup that you ever wanted. Practice the above mentioned steps and you can give yourself a fascinating expert style makeover at your home.

Black Smokey Eyes Makeup Tutorial Step by Step (16)

Latest Black Smokey Eyes Makeup Tutorial Step by Step Looks

Black Smokey Eyes Makeup Tutorial Step by Step (2) Black Smokey Eyes Makeup Tutorial Step by Step (3) Black Smokey Eyes Makeup Tutorial Step by Step (13) Black Smokey Eyes Makeup Tutorial Step by Step (14) Black Smokey Eyes Makeup Tutorial Step by Step (16) Black Smokey Eyes Makeup Tutorial Step by Step (17) Black Smokey Eyes Makeup Tutorial Step by Step (21) Black Smokey Eyes Makeup Tutorial Step by Step (22) Black Smokey Eyes Makeup Tutorial Step by Step (19)

See More As:


read more
Beauty Tips and Health FitnessSkin Care

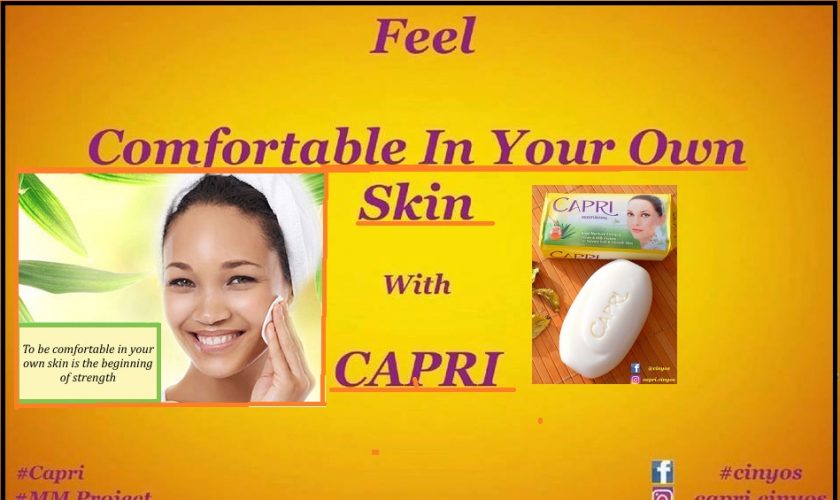
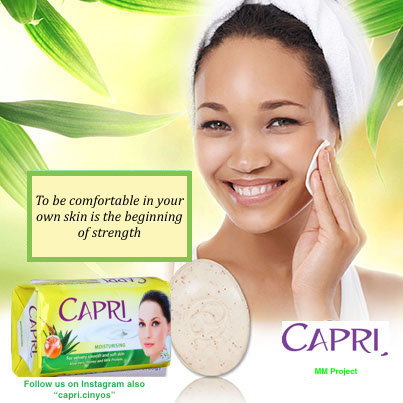
Comfort In Your Own Skin with Capri- MM Project by SZABIST Students

comfort-in-your-own-skin-with-capri-media-management-project-by-ayesha-ajaz

Ayesha Ajaz is a Pakistani beauty blogger, studying business from a renowned business institution. Talking about makeup and beauty absolutely enchants Ayesha. She will feel contented and fortunate to help you all beauties with my reviews and tutorials. 

comfort-in-your-own-skin-with-capri-media-management-project-by-ayesha-ajaz-14

Ayesha and her group has started a media management project that includes a beauty brand, Capri. The campaign is about to aware ladies and young girls about their skin. Every girl is beautiful in her own ways. Just you have to do a little care of your skin to be beautiful. Feel Comfortable in Your Own Skin- MM Project by Ayesha Ajaz is a good step to make the women courageous and comfortable in their own skin.

comfort-in-your-own-skin-with-capri-media-management-project-by-ayesha-ajaz-8

The real brain behind the campaign, Ayesha, is the same view that “Stop hating yourself for everything you aren’t. Start loving yourself for everything that you are.” Being a beauty blogger, she has been spreading the message through many platforms including her beauty blogs and Instagram. Even her prescribed makeup techniques are close to natural outlooks. Her motive is only to keep it simple and close to reality.

Comfort In Your Own Skin with Capri- Media Management Project by SZABIST Students

Beauty begins the moment you decide to be yourself

One’s individuality defines the diversity and beauty of nature. Looking pretty and alluring doesn’t really demand layers of foundation and tons of makeup but it all lies in mere simplicity. It is however quite saddening and unfortunate that as we are advancing in development of cosmetic products and techniques we are more deviating from the natural ways of attaining beauty, girls spend hours putting on several layers of foundations, primers, contours, blushes, shimmers and much more, just to attain that confidence to move around in the society. What most of us aren’t aware of, is that confidence is built within, it is admiring you that way you are being created.

comfort-in-your-own-skin-with-capri-media-management-project-by-ayesha-ajaz-1

Propagating same message and idea among the people of Pakistan, a team of students from Szabist has set out on a mission to help you believe in yourself and your natural looks. “Comfort In your own Skin-Capri” is a great initiative to make you believe in yourself. They have been carrying out major interactive activities in this regard to instigate the use of natural beauty soap “Capri” bringing live to your natural skin. Stop listening what the world tells you or what media demonstrates through those fashion walks, magazines, and shows, it is all a part of reality which is nothing but mediated and fake.

Open up your mind and embrace your skin, it is beautiful and perfect. No one needs to lighten it up using those skin damaging, whitening, vanishing creams. Trust me! All those cream can make vanish, is your own individuality. Either it’s dark or tan, your skin color doesn’t require alterations, it is perfect the way it is. Let the world shine with your glare and do not hide it behind the covers of your makeovers. Nourish it well and keep it hydrated, that is all you need to do. And what could be more suitable than using Capri soap to hydrate your skin, it fairly smoothens it while keeping its natural moisture.

comfort-in-your-own-skin-with-capri-media-management-project-by-ayesha-ajaz-13

See More As:

read more
Beauty Tips and Health FitnessSkin Care

Beauty Tips to Get Natural No Makeup Look in Summers/ Spring Season

Beauty Tips to Get No Makeup Look in Summers Spring Season 2016-2017

When you get to face that hot blazing sunlight during the peak hours of summer, your skin might get dehydrated, rough and dull. It is perhaps the most significant change that you certainly want to avoid. The drier your skin gets the more it gets all tanned. To achieve that flawless look, girls try to put on plenty of makeup over their face. But this makes us loose our natural no makeup look. So why not try some entirely different steps in order to attain your desired outlook. Yes! We have brought you complete down to the line information that will help you secure “a no makeup look” that will go with each type of summer outfit you carry.

Beauty Tips to Get No Makeup Look in Summers Spring Season (8)

How to Get ‘No Makeup Look’ in Summers? Basic Tips & Ideas:

Beauty Tips to Get No Makeup Look in Summers Spring Season (9)

The secret of beauty for spring/ summer lies in the shines of your glowing skin. Therefore, this year’s Spring/Summer 2016 ready to wear shows has also created such innovative outlooks for their models. They appeared to look so fresh and natural like the angelic and sweet vibe or low key vibe seen at Christian Dior and Stella McCartney respectively. The fine finish of the foundation, with light dabs of blushes, have given their faces a quite genuine impression. Makeup Artist James Boehmer had skillfully applied the Triple X Gloss over lips, highlighted the bridge of the nose and cheekbones high points.

Beauty Tips to Get No Makeup Look in Summers Spring Season (4)

Beauty Tips to Get No Makeup Look in Summers Spring Season (15)

Lisa Eldrige’s Makeup Tips :

Beauty expert for celebrities, Lisa Eldridge, has given great tips to create natural appeal to your makeup. Her technique of using foundation to blend well to smooth out your skin tone creates that dewy glow. Covering your blemishes can be tricky, but it has to be done through tinted moisturizer for a lighter coverage. After that, you need to cover the specific point of blemish or any marks with the thick coat of foundation or the heavy layer of concealer. Use eyeliner brush or synthetic flat eye brush to apply liquid foundation or concealer. Use of light layer of powder will help the foundation to stay for a longer period.

Beauty Tips to Get No Makeup Look in Summers Spring Season 2016-2017 (1)

Charlotte Tilbury Makeup Tips & Ideas:

Another eminent makeup artist, Charlotte Tilbury believes in using Wonderglow outlook for summers. She uses the range of beauty products from her cosmetic line and makes use of Core light diffuser which ensures the absorption of ultraviolet particles. It helps to maintain your glowing complexion. The ever increasing trend of beauty products has allowed you to switch between various makeup trends. MAC’s Barbados Girl and Pink Rebel are perfect for soft accentuating makeup. The latest Dior’s collection named “glowing gardens” consists of shimmery powder which is meant to blend perfectly into the skin and creates a radiant finish.

Beauty Tips to Get No Makeup Look in Summers Spring Season (19)

Perhaps the range of products out now in stores are going to give you great results with the type of outlook you ever wished. Once you try a no makeup outlook for your casual events and formal occasions, your summer days will end up feeling more refreshing for yourself. Try to keep it real and fresh that is what makes your makeup novel and unique from the rest.

No Makeup Looks: 

Beauty Tips to Get No Makeup Look in Summers Spring Season (10)

Beauty Tips to Get No Makeup Look in Summers Spring Season (5) Beauty Tips to Get No Makeup Look in Summers Spring Season (2) Beauty Tips to Get No Makeup Look in Summers Spring Season (1) Beauty Tips to Get No Makeup Look in Summers Spring Season (3) Beauty Tips to Get No Makeup Look in Summers Spring Season (7) Beauty Tips to Get No Makeup Look in Summers Spring Season (12) Beauty Tips to Get No Makeup Look in Summers Spring Season (6) Beauty Tips to Get No Makeup Look in Summers Spring Season 2016-2017 (2) Beauty Tips to Get No Makeup Look in Summers Spring Season (21) Beauty Tips to Get No Makeup Look in Summers Spring Season (20) Beauty Tips to Get No Makeup Look in Summers Spring Season (13) Beauty Tips to Get No Makeup Look in Summers Spring Season (14) Beauty Tips to Get No Makeup Look in Summers Spring Season (1)

See More As:

read more
Beauty Tips and Health FitnessSkin Care

Basic & Easy Tips to Get Long Eyelashes Naturally at Home

How to Get Long Lashes Naturally Tips & Tricks to Grow Long Eyelashes

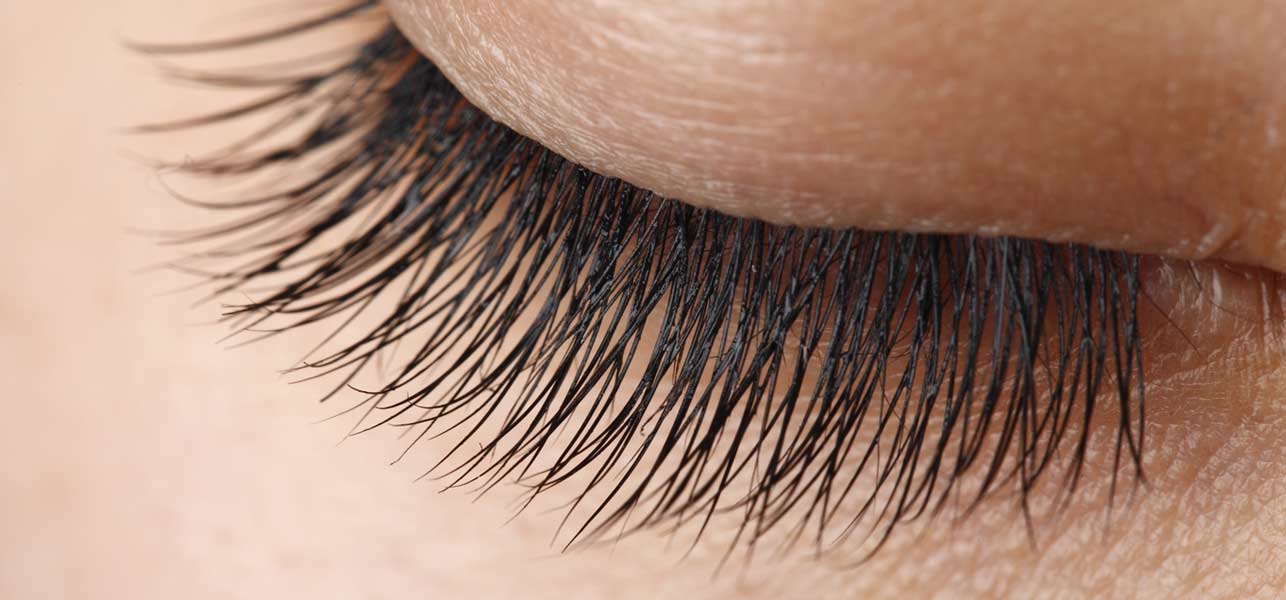
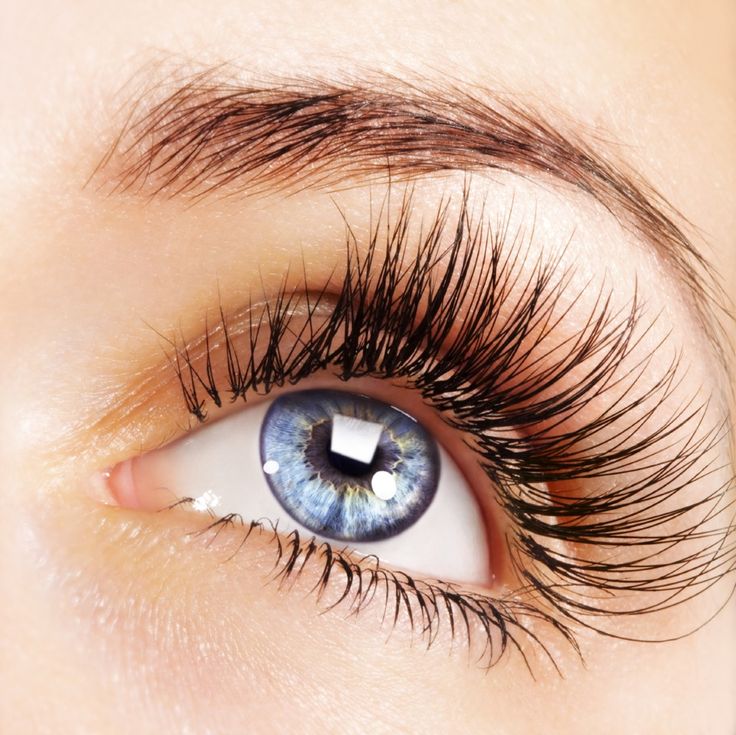
Long shiny eyelashes make your eyes look wonderfully amazing and charming. Long lashes have always been desirable for all women. Some have this luxury naturally but some of us don’t. But that doesn’t necessarily mean we cannot have it. With few simple tips and techniques, you can also have beautiful long lashes in the just a couple of days or few months. Well! For all type of beauty tips, it is always preferable to stay natural and stick to the natural products instead of relying on synthetic products. As natural products are more reliable, effective and long lasting and of course, without any of those harmful side effects.

How to Get Long Lashes Naturally Tips & Tricks to Grow Long Eyelashes  (1)

How to Get Long Lashes Naturally? Tips & Tricks to Grow Long Eyelashes

Growing long eyelashes can be a time taking process, so you need to be more patient while using any technique. It is preferable to create simply the appearance of long lashes by accentuating them with mascara or eyelash curler. But only if you are running out of time not always because these techniques damage the natural volume of your lashes. Therefore, we bring you the best of tips to grow your lashes long and thick naturally.

How to Get Long Lashes Naturally Tips & Tricks to Grow Long Eyelashes  (3)

Be Gentle & Careful:

One of the most important tips that you should keep in mind is that it’s not only about applying the products, but it’s all about how you deal and take care of your lashes. Even if you are removing the eye makeup, be gentle and careful. Use cotton pads to remove the makeup and do not rub your eyes and lashes in a harsh way. So avoid excessive rubbing of your eyes.

How to Get Long Lashes Naturally Tips & Tricks to Grow Long Eyelashes  (4)

Castor Oil:

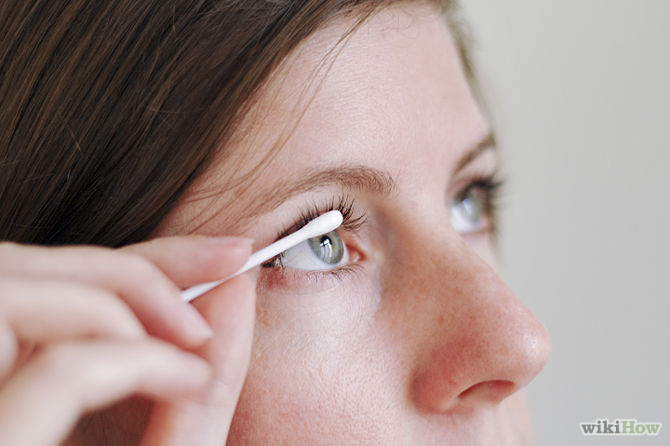
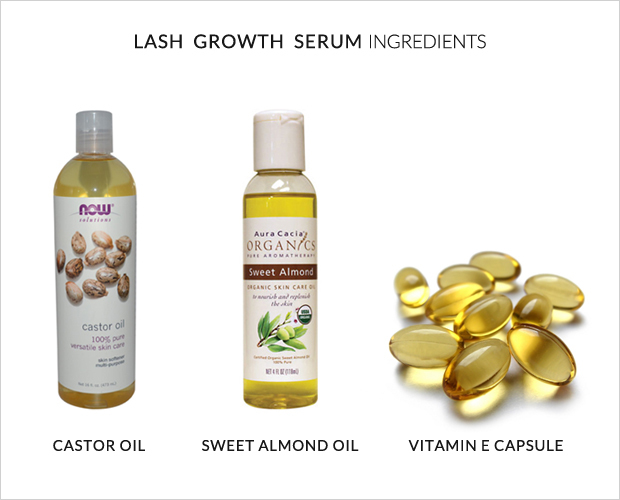
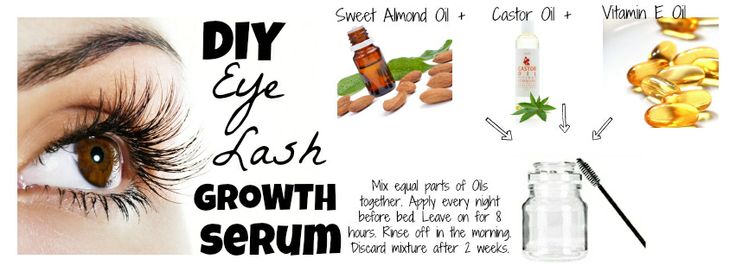
The things that can grow your lashes longer and thicker includes a variety of oils. The most effective of all the oils is castor oil. Applying castor oil to your lashes before going to bed will bring amazing results. Or you can even use combinations of different oils. Mix castor oil with coconut oil in equal proportions and then apply it to your lashes. Be gentle while applying. Use cotton buds to apply the little amount of oil on your lash line.

vitamin and castor

oliveoil

Vitamin E serum:

Another important ingredient that can help your lashes grow longer is Vitamin E serum, mixing the vitamin E serum with castor oil gives you a perfect mixture to let your lash grow thick. Apply it before going to sleep and let it stay the whole night. Wash it in the morning. Keep this routine for at least 15 days and you will notice the change in yourself.

Vitamin E

Petroleum jelly:

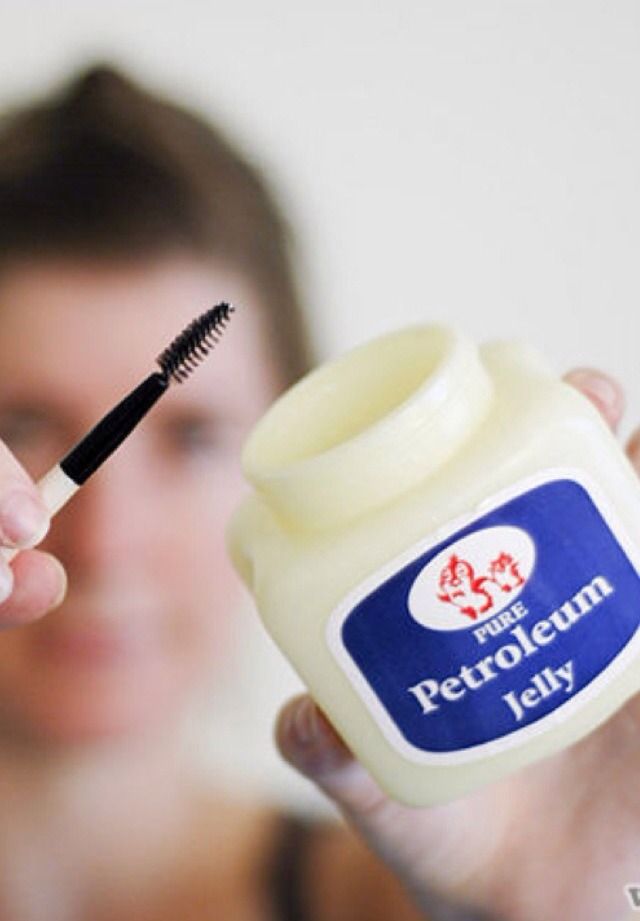
Petroleum jelly is also a very effective ingredient that has always been suggested for the long lash therapy. Use a small amount of petroleum jelly on your lash line and let it stay overnight then wash it with Luke warm water in the morning.

vaseline

Green tea:

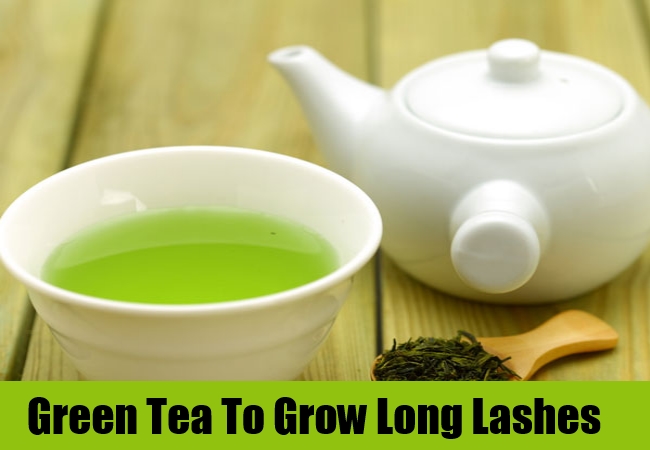
Another important home remedy that is effective for longer lashes is Green tea. Yes! It sounds a little weird, but you won’t be thinking that anymore once you’ll notice the results by yourself. What you need to do is, take some green tea, soak a cotton ball in it then apply it to your eyes. Wash it thoroughly in the morning. Keep doing this for two weeks and you’ll feel the difference.

greentea

Good & healthy diet Plan:

As our diet also have serious effects on our skin and hair so try to keep your diet balanced and healthy. A diet with lots of proteins, vitamin and water, will let your body nourish perfectly, and you’ll get the most beautiful lashes you have ever imagined.

How to Get Long Lashes Naturally Tips & Tricks to Grow Long Eyelashes  (2)

See More As:

read more
Skin Care

How to do a Best Pedicure at Home by Yourself- Tutorial

How to do a Perfect & Best Pedicure at home by Yourself- Step by Step Tutorial

Every woman wants her feet to look perfect whenever she walks in her pretty silhouettes or sandals. Harsh and dry winter along with tough, busy routine makes your feet lose their beauty and shine. Our nails start to lose their smoothness too. So ladies! If you can’t manage to visit parlor every other week then no worries. We bring you the best of the pedicure techniques to your home. Now every other weekend you can have a nice pedicure. Give your feet a treat that will enhance their beauty altogether. Try to give your feet 20 to 30 minutes every week and the results will amaze you.

How to do a Perfect & Best Pedicure at home by Yourself- Step by Step Tutorial

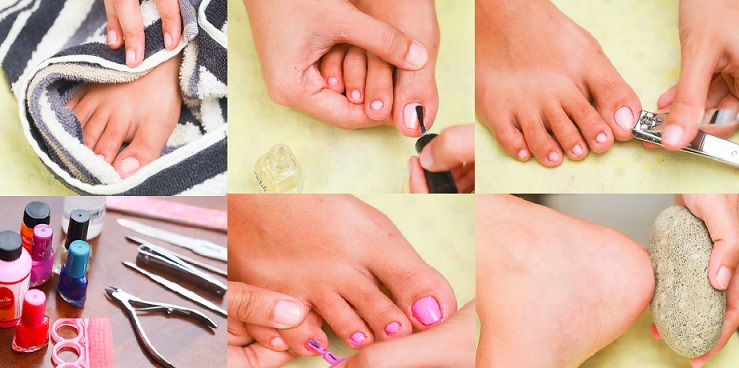
The complete process of a perfect pedicure at home is divided into few following steps here. Follow each step carefully for the best results. Pedicure routine somehow resembles the techniques used in manicure; the difference lies in the tools that we use.

Things that are essential for a perfect home pedicure includes the following.

step1

1. A tub and water for soaking
2.Nail clippers
3. A nail file
4. A cuticle stick/orange stick
5. A nail buffer
6.A pumice stone or scrubbing brush,
7. A clear top and base coat,
8. A polish color of choice

  • Check all the material before initializing your first move. Keep them ready for use. Also, keep them separate and clean for every session of your pedicure. Adding this healthy act in your pedicure routine will keep your feet hygienic round the clock.

step2

  • What else you would need in this procedure are bath salts for soaking your feet, cuticle trimmers, cuticle oil, and lotion for a massage. At first, remove your pre-existing nail paint if you are wearing any.

step3


  • Then grab a tub, fill it with Luke warm water add some bath salts to it. Bath salts have the natural tendency to smooth your skin and will make it soft. The hot water will soften your calluses and allow them to get removed easily.

step4

  • Also, you will get rid of all the dirt and germs that your feet might carry. As the feet and toe skin is harder than the skin of our hands, therefore, give your feet extra ten minutes for soaking.

step5

  • Now that your nails and skin has become softer and smoother you can let your feet dry for a while. And then you need to cut your nails to the desired length and desired shape.

step6


  • File your nails gently. Smooth out all the edges. Give extra attention to the corners to avoid any ingrowths. Buff them up to smooth out the ridges too. Prepare your cuticle, remove the excess or push it outwards around the edges with an orange stick.

step7

step8

  • If you have dry and cracked heels, then the use of pumice stone is a must. Rub the pumice stone over your heels and the ball of your feet. Rub it gently in circular motions. It will scrap off all the calluses and dead skin cells layer over your heels.

step9

  • Apply some moisturizer or lotion over your feet and let it settle for a while. Now you can start applying paint coats over your toenails. Apply a base coat and then carry on with the desired variety of nail colors you want.

step10 11

Image Credits: WikiHow.com

See More As:

read more
Beauty Tips and Health FitnessSkin Care

Christmas Bold Red Lipstick Tutorial Step by Step with Pictures

Step by Step Bold Red Lipstick Tutorial for Christmas

Everybody is waiting anxiously for Christmas but especially girls who can’t wait to do Santa nail arts, Christmas caps, dresses and oh the makeup. As a season of Christmas is coming near, we are trying to provide you with each help regarding nail arts, hairstyles, makeup, etc. Just like today we are here to give you the perfect way to apply bold triggering red lipstick. Red is like the king of colors when it’s holiday season, so red lipstick gives the mature and festive look for the holiday celebrations. And the most interesting thing about red lipsticks is that it lighten up the pale skin and gives the ever fresh stunning look that nothing else can give.

There are various shades of red available but you better choose a really bold one or red at its full, other than that always choose a good quality brand when it comes to cosmetics because your skin is very special to be treated with recklessness.

Well, now when you have chosen a well-known quality brand lipstick, the next step is how to apply it? I know some will think that what’s difficult in applying a simple lipstick? Yeah, nothing’s difficult but many time there are very common mistakes seen that may effect in various ways i.e. spoiling the shape of your lips, short lasting or giving harm to your lips. So, just a few steps to accomplish perfect lips look. But before listing them, I want to give a little suggestion that it will be marvelous if you wear red lipstick with simple black eyeliner.

Bold Red Lipstick Tutorial Step By Step to Spice Up Your Christmas

The steps below will help you achieve the Christmas bold red look for your holidays.

There are a few things you need available in your side pocket. A lip scrub, lip balm, red lip liner, red lipstick, lipstick brush, concealer, concealer brush.

Step 1:

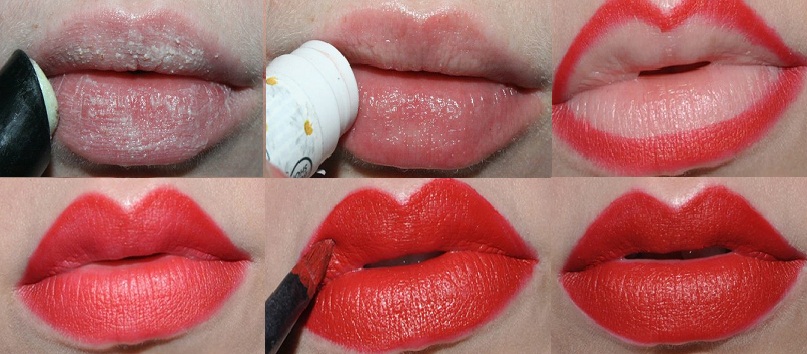
First of all, clean up your lips by using lip scrub that will exfoliate the dead, flaky, dry skin which usually spoils the look by giving cracks so it is necessary to remove it by gently massaging. Now when your lips are clean and clear, apply a lip balm to moisturize the dry lips but if you see your lips becoming more oily than gently soak a tissue to remove a bit of extra moisturizer.

1

2

Step 2:

Use lip liner just matching as your lipstick color on lips covering the shape of our lips perfectly.

3

Step 3:

Fill the lips with the same liner you used for a boundary.

4

Step 4:

Use the brush to apply the lipstick and blot it on tissue.

5

Step 5:

To make your look last longer, add one more coat of lip paint and use concealer to clean up the edges to get a neat look.

6

Step 6:

Tada! Here you go sexy. The stunning bold red lipstick look for Christmas is ready.
See how easy it was. Hope you enjoyed it.

FINAL LOOK!

7

See More As:

read more
Beauty Tips and Health FitnessSkin Care

How to Make Your Nose Look Thinner with Makeup

How to Make Nose Smaller & Thinner with Makeup

Hello, dear ladies, life is so fast, day by day, the world is magically having success in everything. We are inventing new things, new style, new visions and new lifestyles, as all these things are making the world a better place. So we all are achieving them and forwarding ourselves. Similarly, the fashion world is not behind; it’s inventing and discovering a magical arts and techniques in makeup, dresses, and everything. Here I’m going to discuss, one of the super techniques that our makeup artist have invented. Dear girls, as we all know, makeup tips count a lot now in a makeup, even as a single mistake, can ruin your make up.

How to Get Thinner Nose with Makeup- Step by Step Tutorial:

Today I’m going to share best and easy tutorial technique for you that tells how to make your nose look thinner with makeup. If you have the bad and broad nose, then this is not going to ruin your makeup taste. These are some techniques that will help to have a pretty thin nose.

Things you Need:

Dear ladies, before starting a make-up you must have these things in your makeup bag. Do you have these things?

  • Makeup base, Foundation, Concealer
  • Blush (pink or peach)
  • Bronzer
  • Eye Makeup Items including eye-shadows, mascara
  • White eye shadow
  • Eye Shimmer
  • False eyelashes(optional)
  •  lipstick kit
  •  Makeup brushes or tools

How to Get Thinner Nose with Makeup- Step by Step Tutorial (4)

Cleansing Face:

First wash your face with firm soap or face wash. It depends on you what type of skin it is, select your face wash according to your skin characteristic. I would recommend some face washes that even remove your white or black head from face skin or a nose. These are the Himalayas, Clean and Clear, Dove, and many others are famous.

cleansing face

Nose Cleansing:

It’s really important to take care of your skin. Cleansing is the part of your makeup; it helps you to prevent your skin from dust, extract the roughness of the skin from the face. If you have blackheads or whiteheads on your nose, then you need to clean them before starting a makeup. I would suggest you the best cleansing milk that can help you to have clear and soft skin, as these are: Nivea Visage Refreshing, Himalaya deep cleansing, Nivea Aqua Effect refreshing, Clarins cleansing milk. These cleansing milk are very good and give the best result, although they are reasonable too. Clean your nose and remove all spots and heads.

How to Get Thinner Nose with Makeup- Step by Step Tutorial (5)

Making Base:

Now it’s time to apply a base on your face, it’s your choice to apply a face powder or a foundation, that your skin prefers the most, you just need to tune your skin so well. Wow, what a perfect palette is ready to apply other makeup products.

base makeup

Face Contouring:

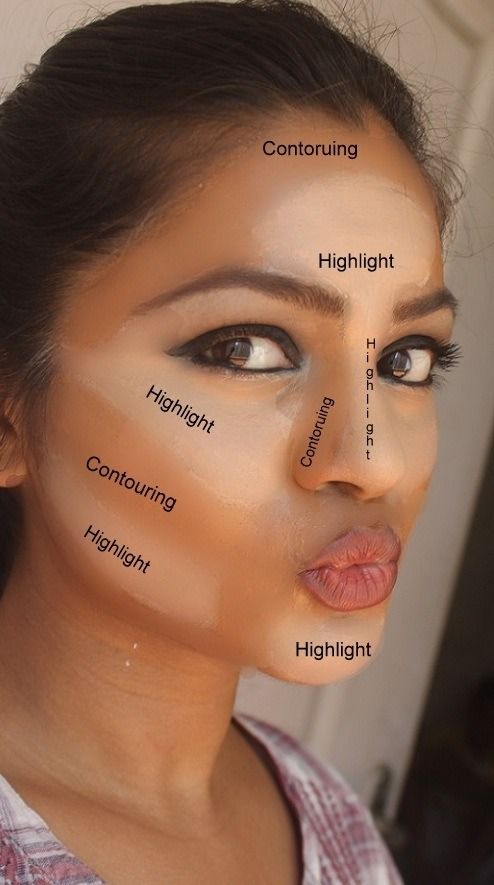
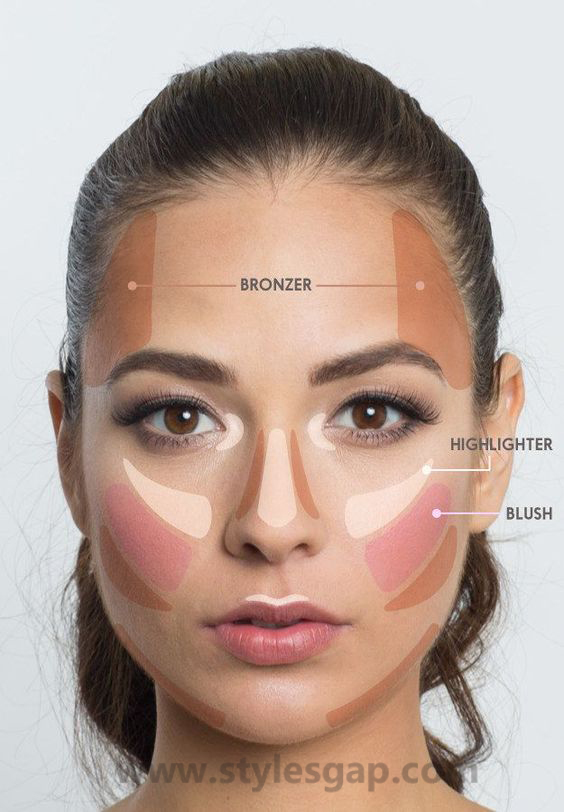
After applying a foundation or a base, now you need to enhance the features of your face with the help of contouring part. Just follow these steps as shown in pictures:

How to Get Thinner Nose with Makeup- Step by Step Tutorial (8)

Nose Contouring:

After applying a contour base on cheeks, forehead and chin, you need to contour your nose. So what do you want? As we all know, thinner nose always looks so smart and hot, it makes your look more attractive and charming. As many of you want to have a thinner nose. So what techniques are behind it? Dear ladies now need not to worry. his tutorial will give you the best technique that can help you to have a thinner nose that you’re wondering to have it. The first step is contouring of your nose, apply contour base like a line on the sides of the nose as shown in the pictures. (pictures)
Now start merging a base and bronzer, with a help of the sponge or a contouring brush. Yes, dear lady, your nose looks thin now by the magic of the makeup. Follow these pictures:

How to Get Thinner Nose with Makeup- Step by Step Tutorial (7)

How to Contour Your Nose to Make it Smaller- Tutorial

How to Get Thinner Nose with Makeup- Step by Step Tutorial (1)

White Nose Line :

Here is another tip that you can call it a second tip, here you go. Take out your white eye shadow, now with the help of finger just make a line on the nose front bone slightly. Here it gives slim and straight look, I call it best tip ever as when you take snaps, your nose looks straight and slim in the pictures.

How to Get Thinner Nose with Makeup- Step by Step Tutorial (2)

Blush on and shimmers time:

Apply blush on whatever color do you want to. But keep this in mind that you must apply a shimmer before applying blush on. It will give the shiny and attractive look to you.

How to Get Thinner Nose with Makeup- Step by Step Tutorial (13)

Final touch:

Time for eye shadows, apply shadows whatever type you want to and apply a lip color then. Here you’re ready to have a perfect nose that looks thinner, slim and smart.

How to Get Thinner Nose with Makeup- Step by Step Tutorial (10)

For more tips and techniques, follow us on a Facebook page and website. Stay tuned with us.

See More As:

read more
1 2 3 4 5 6
Page 3 of 6